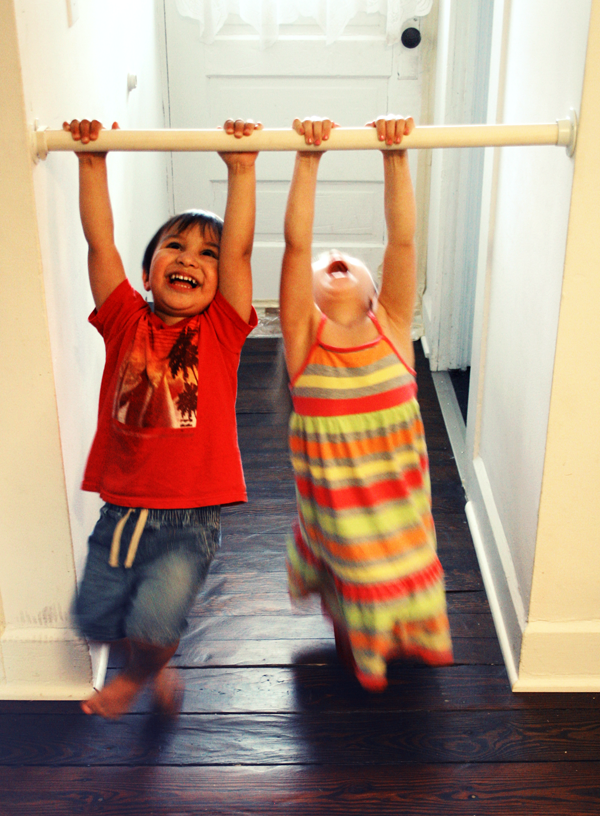
Just wanted to pop in and let you all know that we have a new feature called Q Says Draw where we will be posting drawings that Andrew and I do at the request of Quil. Lately, he’s been doing this a lot, requesting us to draw this or that, and usually it’s of the same thing over and over and over (as you’ll see!) We’ve been trying to document as many of these drawings as we can, though I know there are many that we forgot along the way. Unfortunately, we missed the phase of “Draw a truck with a Christmas tree in the back.” I drew so many of those. Maybe I can still find a few to photograph…
In the meantime, enjoy his current obsession here. Or you can follow the new link the right sidebar. It’s hard to miss. It’s huge.
[Drawing doodle from 2004-ish]
xo,
c.
I’m a working Mama. I’m also nursing a 5-month old baby, so that means I have to pump while at work. When I went back to work in November after my maternity leave, my co-workers gave me a potted Amaryllis bulb as a “Welcome Back” gift. Turns out, this is the PERFECT gift for a pumping Mama!
Pumping isn’t the most glamorous or the most fun thing to do with one’s time. It’s a lot of just sitting there (thank goodness for smart phones and this bra.) And you look and feel like a milking machine with tubes and bottles and plastic breast shields. It’s quite a sight.
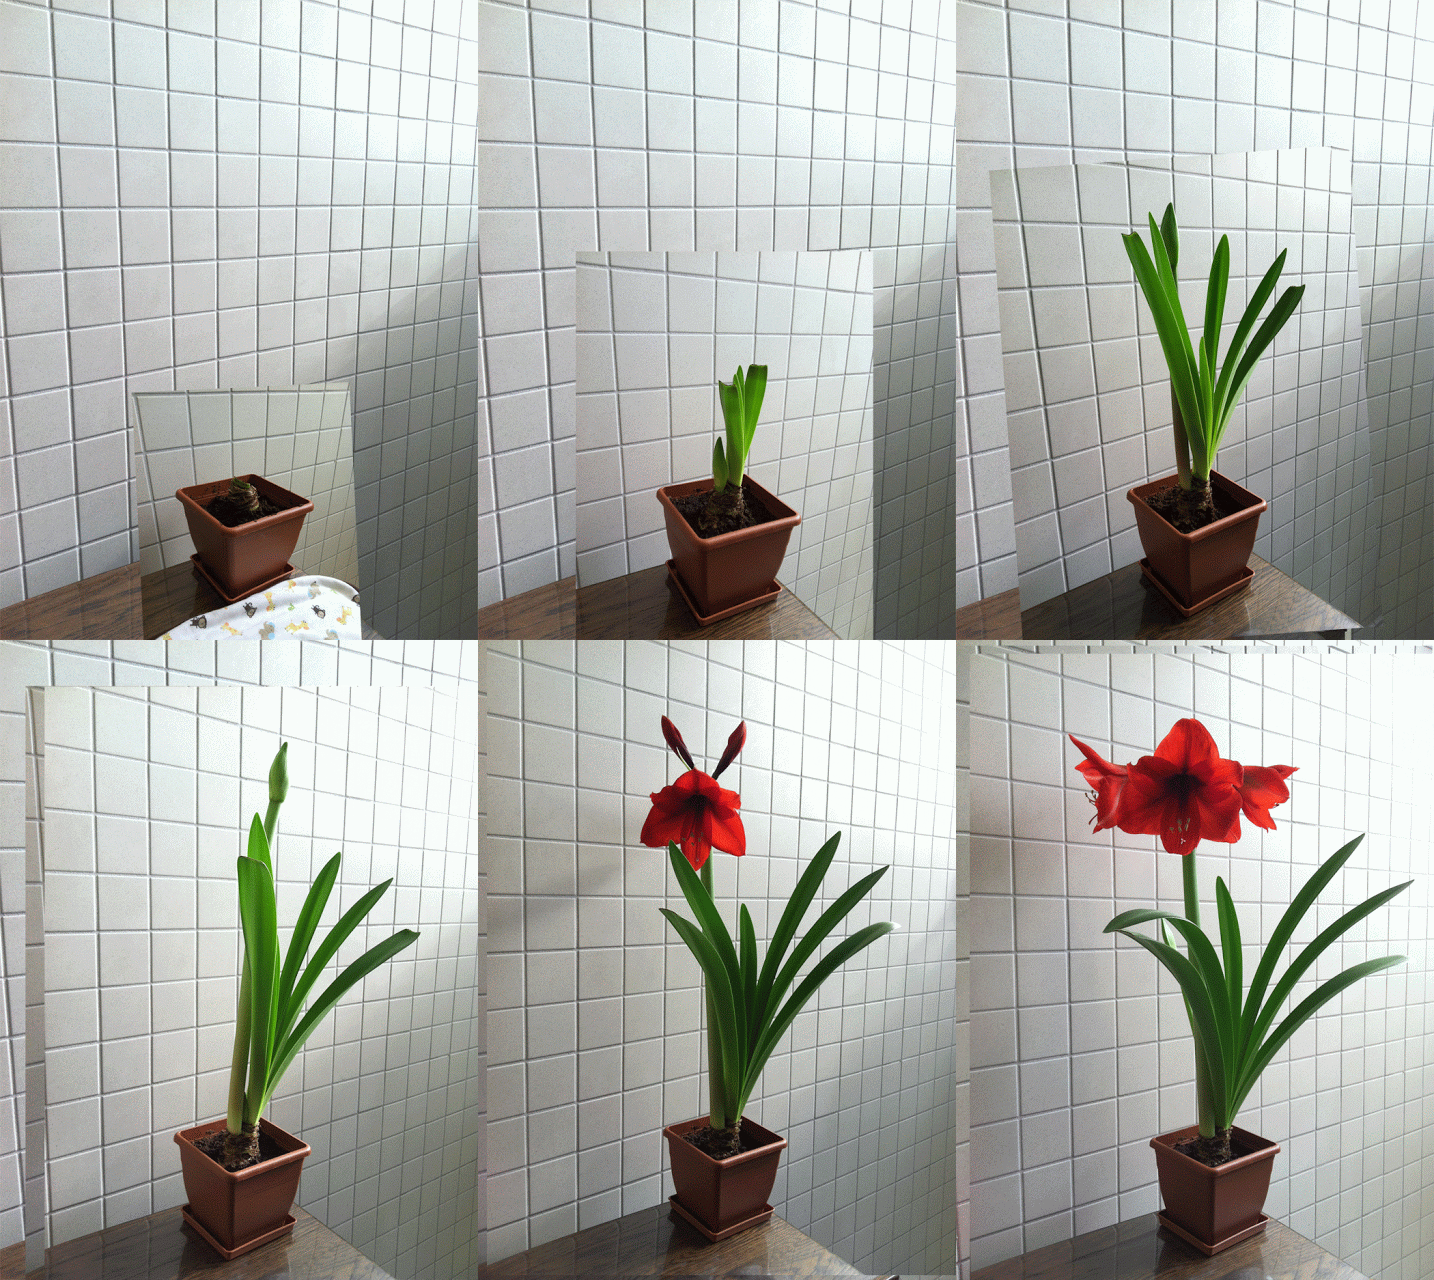
However, I’m fortunate to at least have a pumping room at my office with a lot of natural light. When they gave me this potted Amaryllis bulb I decided, rather than put it at my desk, I’d put it in my pumping room. These past two months I’ve been back at work I’ve been able to watch my plant grow and it’s been absolutely fascinating, calming, and peaceful. Since Amaryllis are very fast growing it gives me something to look forward to every time I have to pump. This week, it bloomed (as you can see in the photo above.) Here is a rough time-lapse from the past two months:
This could be a great gift for a non-working Mama as well. It’s easy to care for and has a big impact when it blooms.
Any working Mama’s out there who pump during their workday? How do you pass your time while pumping?
xo,
c.
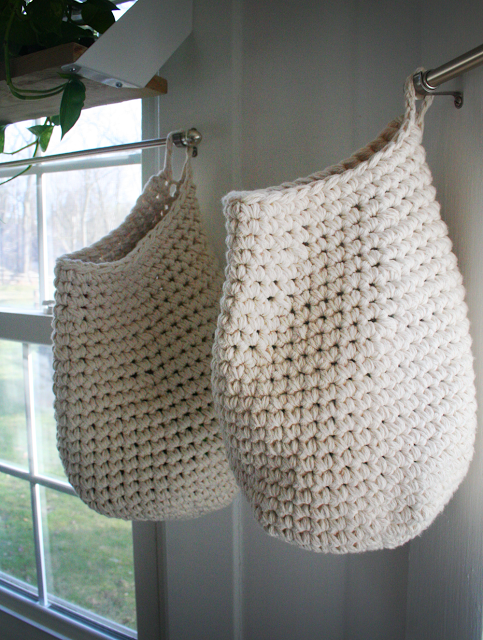
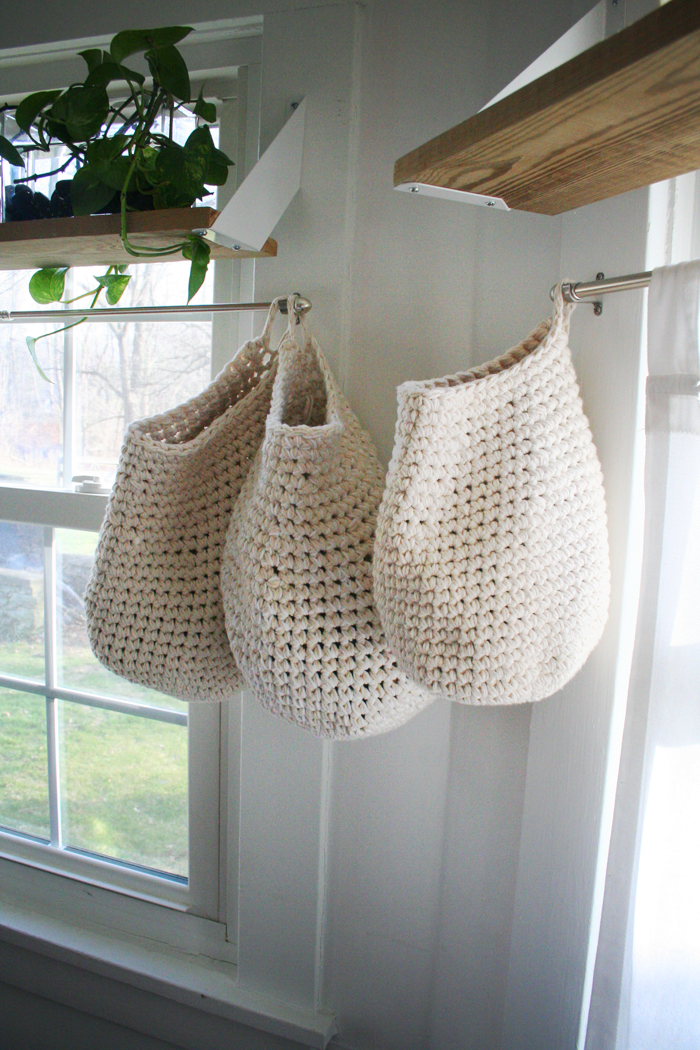
As promised, I put together the pattern for the crocheted toy bags that I’ve been making lately. This is the first pattern I’ve written, so bear with me and please let me know if you find any errors or if any of the directions are confusing. (more…)
Like most households with small children, the toy situation seems to get out of control fast. You somehow go from 0 to 1,000,000 toys in only a few short years! They multiply like a wet Mogwai and next thing you know you are constantly stepping on small sharp things and doing a monthly under-the-couch sweep of wayward balls and anything with wheels. You have entire sections of your home devoted to them and somehow they end up everywhere but there. You get so sick of putting things away that you eventually just get a huge bin that you throw everything into only to have your kid dump it out the minute you put the last toy away. Andrew said that one time he intentionally didn’t pick up after Quil just to see what the house would look like in one day. He said by mid-afternoon, it looked like someone had robbed the place. Drawers out, couch cushions overturned, cabinets open!
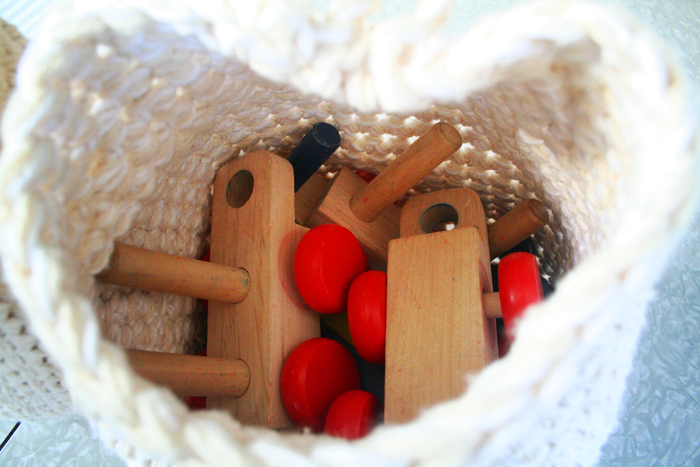
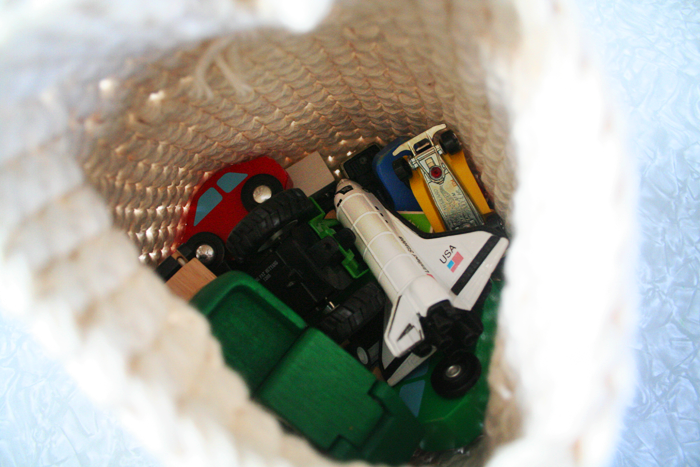
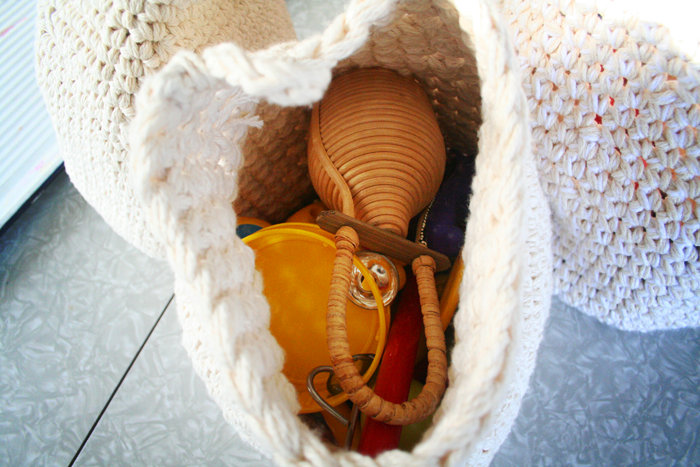
But one thing we learned with Quil is that he is pretty good about putting things away if each type of toy has its own container and not just one catch-all bin. We started off with just cloth bags that you sometimes get when you buy a pair of shoes. But we only had a couple of those. So I decided to start making some crocheted ones. Now he’s got bags for puzzle pieces, train sets, musical instruments, cars, and he can remember which ones go where for the most part.
Don’t get me wrong. His toys still get everywhere, but it does seem more manageable when everything has a designated bin/bag. I still need to make a few more, but these are super easy to make and work up pretty quick since I crochet three strands at once with a large hook. Check back later this week for a pattern if you are interested in making some for yourself.
***UPDATE***
The pattern is now available here.
xo,
c.
