Crystal Madrilejos

Design & Creative

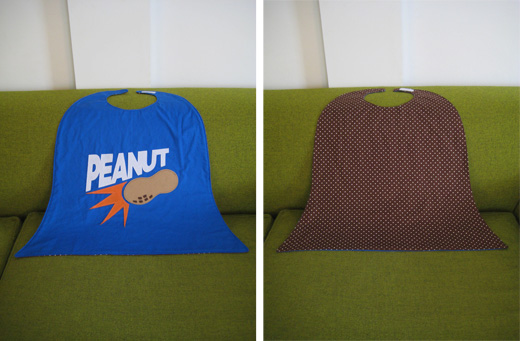
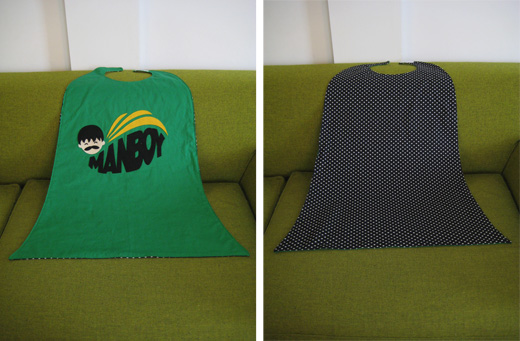
My 5-year old nephew Falcon and my 2-year old niece Arwen are both obsessed with superheroes. So this Christmas I decided to make them their own superhero capes. My brother-in-law has nicknames for them; Falcon is Manboy and Arwen is Peanut. Turns out that these nicknames also work out to be pretty appropriate superhero names too!

I came up with a logo for each of them. Peanut was pretty simple and straight forward, but Manboy was a little more of a challenge. In the end, I think they both worked out well. I designed them on the computer then printed the patterns onto Heat n Bond Iron-on Adhesive paper. I ironed the pattern onto pieces of felt, cut them out, adhered them to the cape, then sewed around them for reinforcement.
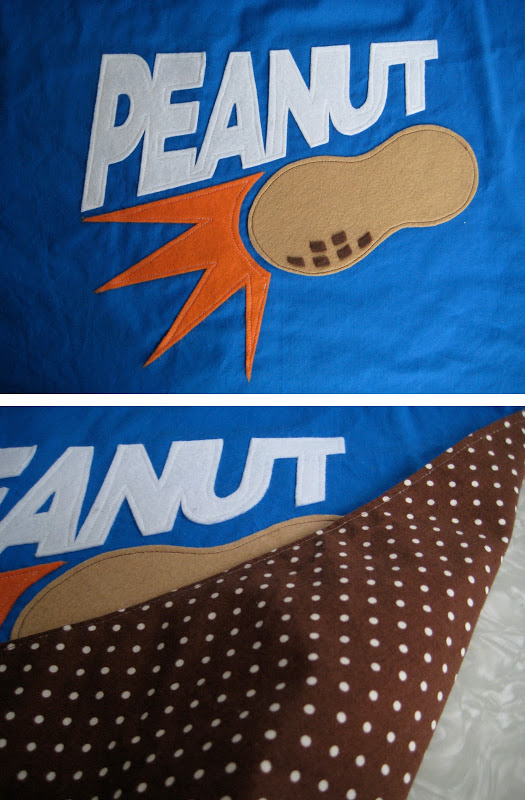
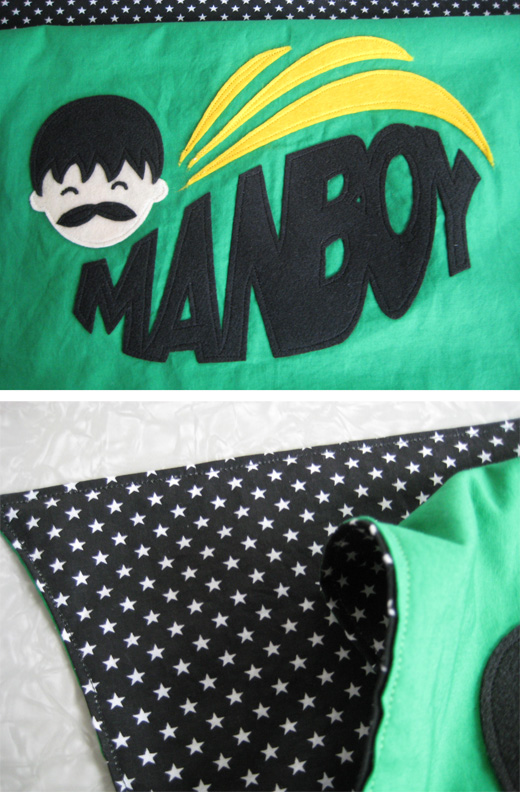
I looked around online for some cape pattern ideas and ended up with a fusion between this blog post and this pattern. I’m no expert seamstress so I was delightfully surprised when they turned out better than I expected.
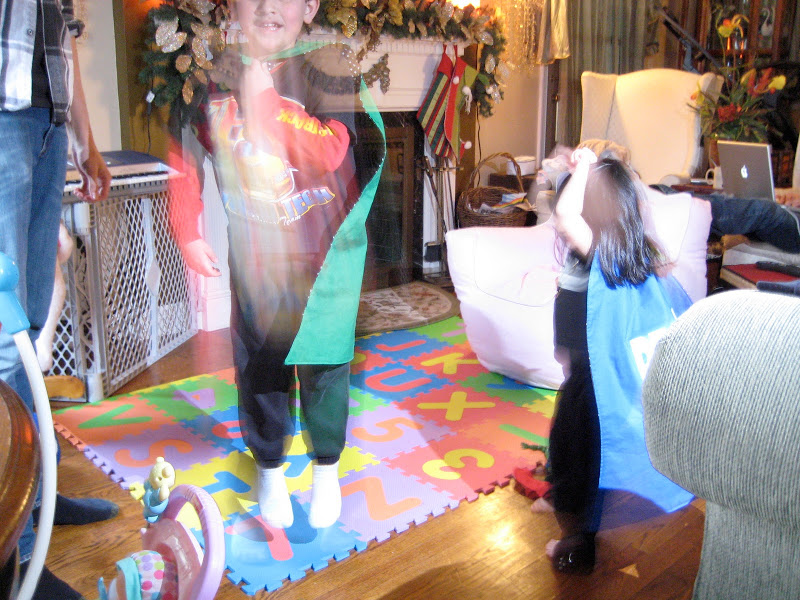
Here is a strange action shot of the two of them with the capes on:
–c.
–c.

Bread is the staff of life. You can filter that through a religious lens if you want, but if you don’t it’s just as true. Virtually every civilization dating back to when the Fertile Crescent was still fertile had some form of flour, water and leavening agent that they mixed together. It’s the food of foods. It’s so simple yet so complex. It’s an art form and while I’m not quite at this point, there are a lot of people out there who can get pretty metaphysical about it.

Crystal is always telling me to post about my bread baking but for one reason or another I never have, until now. It’s exciting, I know.

Many years back I had an epiphany that I could actually make this stuff so I bought yeast for the first time and I’ve been at it ever since. My failures far outnumber my successes but that makes it all the more intriguing. I’m on a mission to make bakery-quality breads in a home oven. It’s quite amazing how much there is to learn, both through reading and good old fashioned trying.

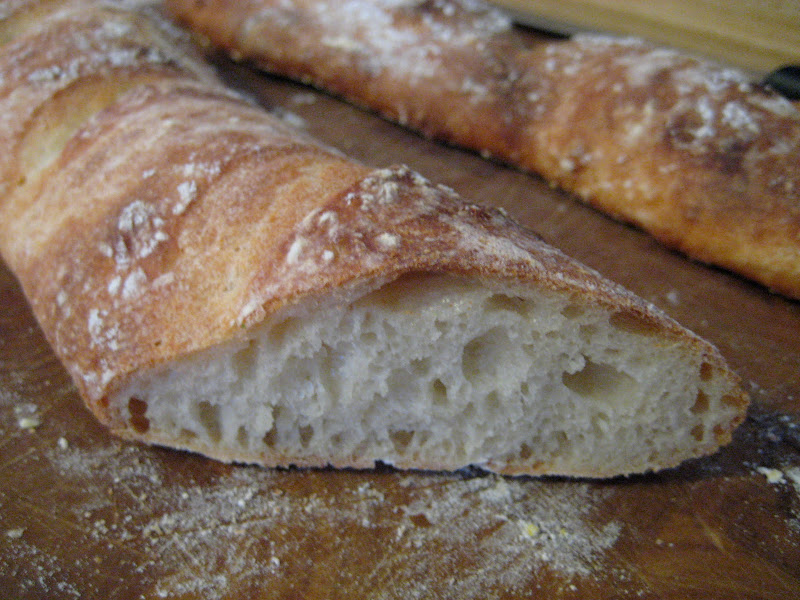
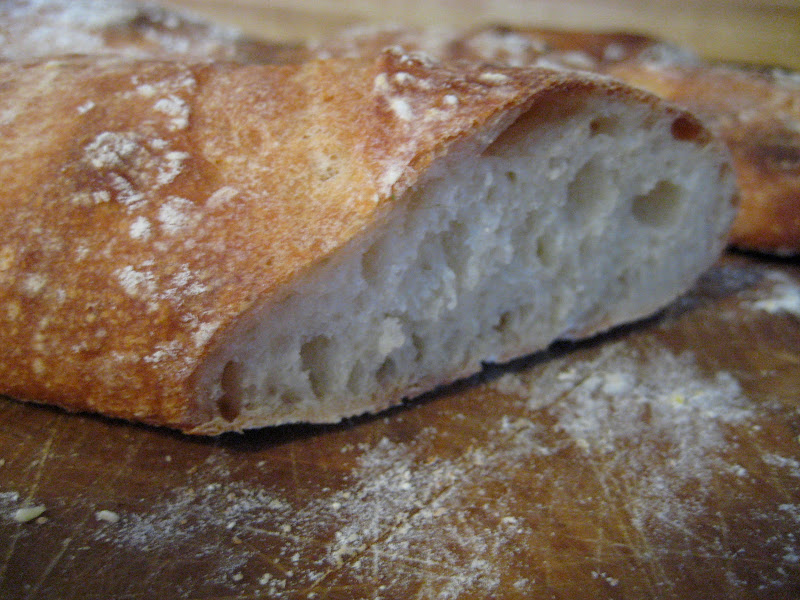
Picture below is my first attempt at Pain à l’Ancienne. I need to work on shaping this kind of dough but overall it turned out really good. (And, as Crys will tell you, I almost never say things turn out “really good.” There’s always room for improvement.)

I’m not just saying this as a cute way to wrap things up but I seriously have some dough proofing that I need to start shaping so I’ll stop here. I’ll continue to share what I’ve learned. I could go on for hours. I love bread.

-a.

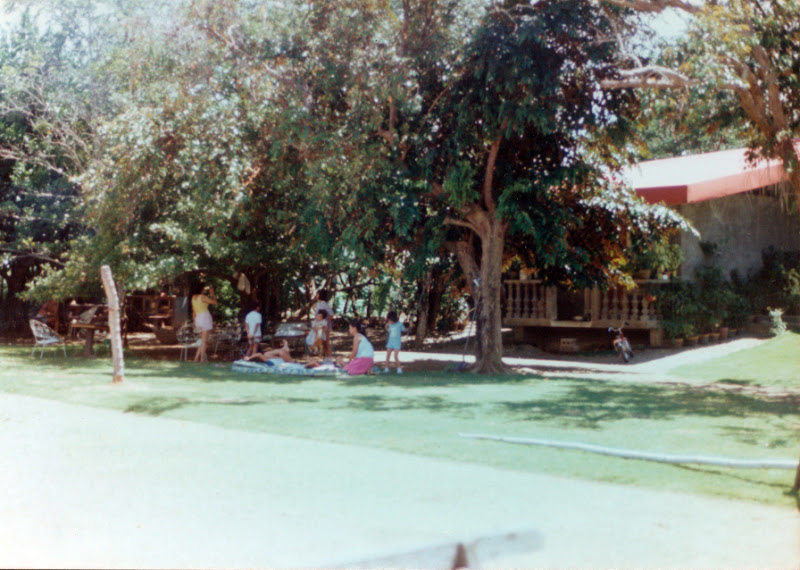
Taken in Pangasinan (where my mother is from) on my first trip to the Philippines when I was 3 years old.

–c.

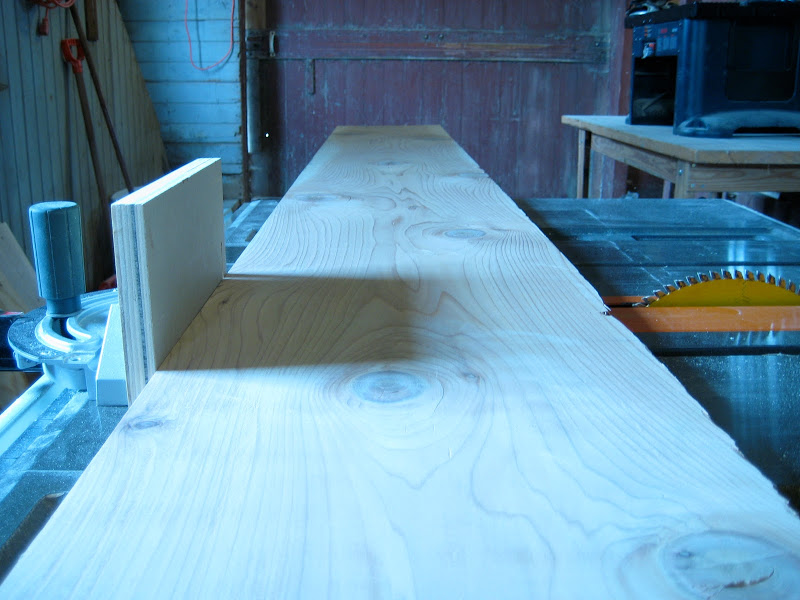
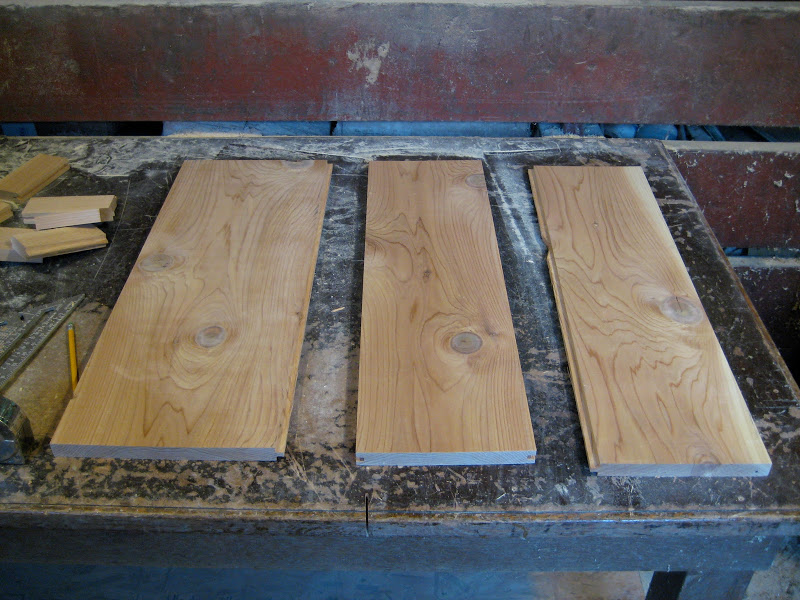
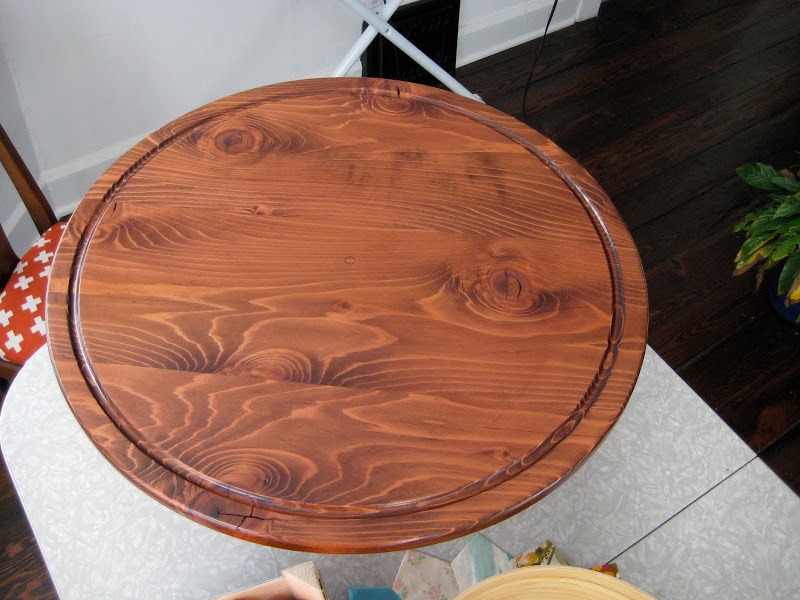
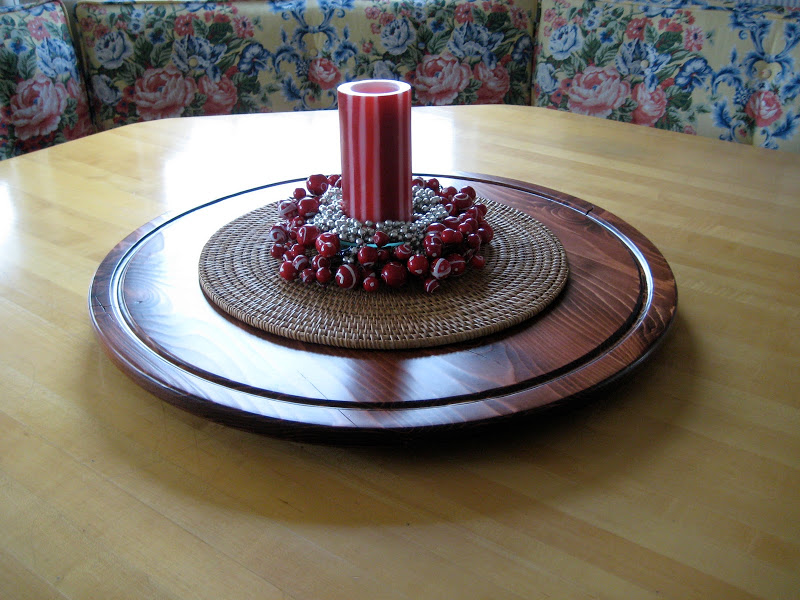
My parent’s Lazy Susan got real lazy and stopped turning so I made them a new one for Christmas. I actually remembered to take pictures of the process too, which is rare for me. As any rational person would do, I’m going to post the pictures in chronological order.


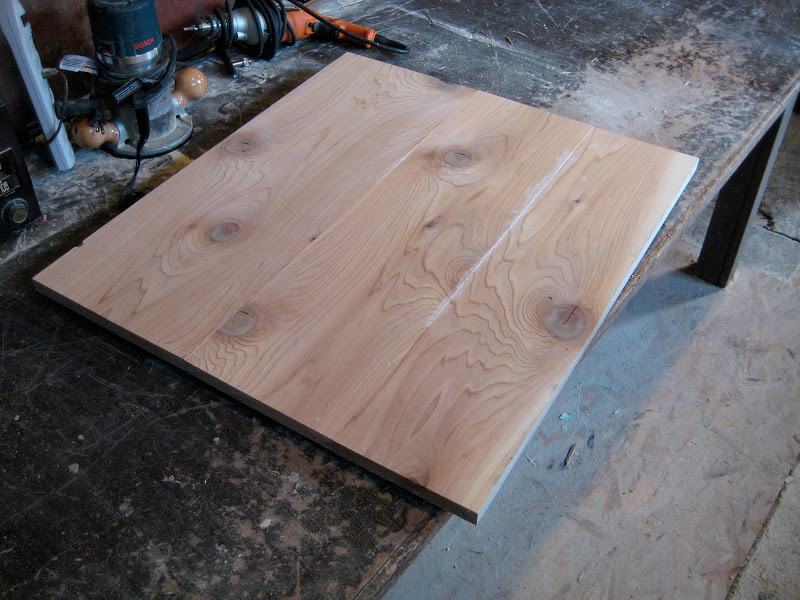
*I used cedar. Why? No particular reason. I’ve just never used it before.


*The tongue and groove joint is a bit annoying to make but worked well here.


*This is after it was glued and clamped.


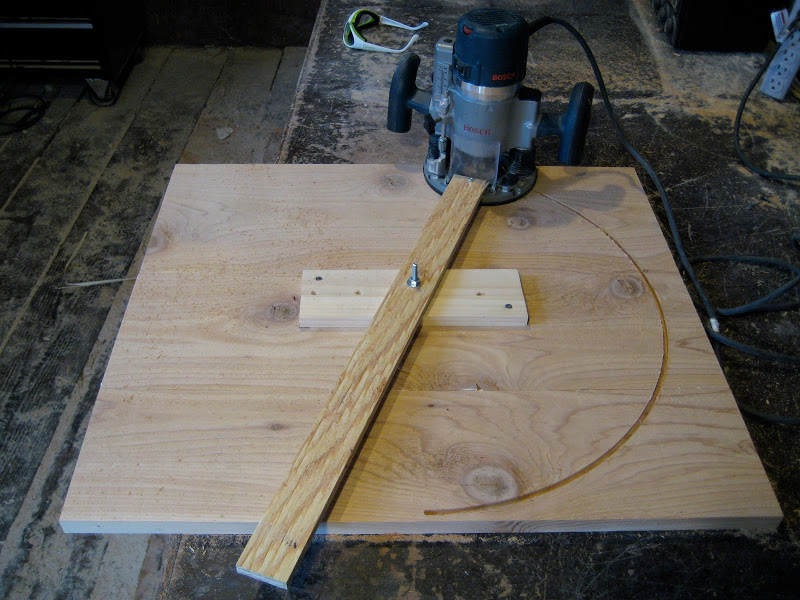
*I made my own jig to cut the circle. You can buy them but that tends to cost money so I just improvised.


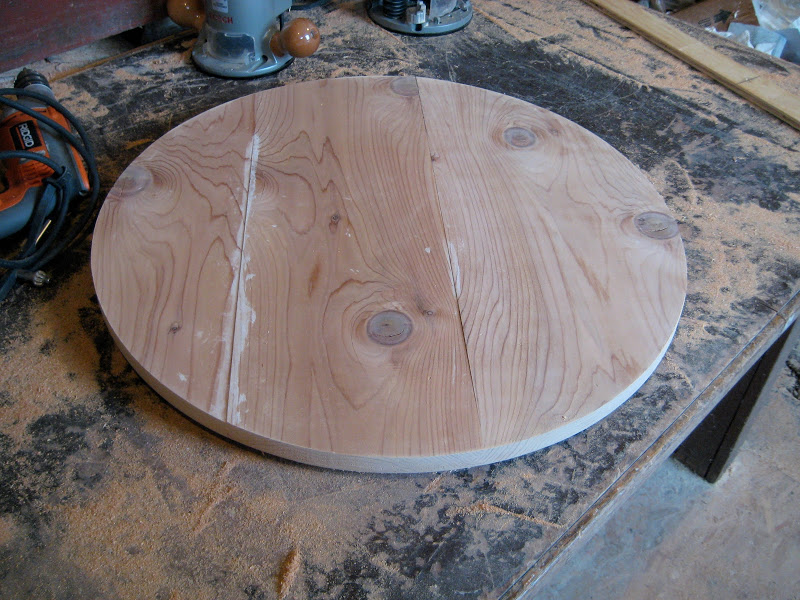
*A nice 24″ circle.


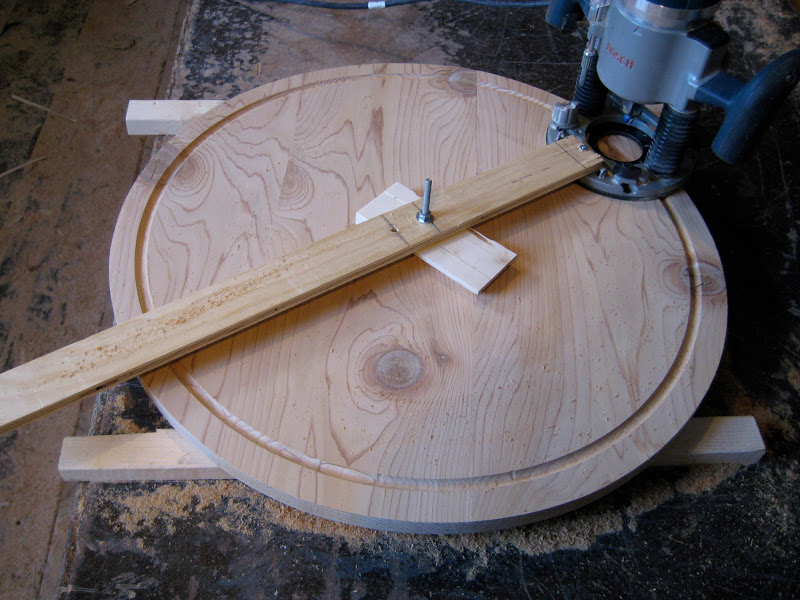
*This groove is for when you spill the gravy. It becomes a gravy moat.


*I used a combination of dye and stain, then four coats of satin polyurethane so it can withstand the rigors of the Lazy Susan life.

For the bottom I cut out another circle of MDF and painted it white. I purchased the hardware (the metal/ball bearing/rotational part) at a local woodworking store called Cleveland Tool & Cutter, which is my new favorite store, and store name. And no, they don’t sell T-shirts, I looked.

Overall I’m happy with how it turned out. I’ve never made a Lazy Susan before, let alone cut a circle out of wood. Let’s hope it keeps on turnin’.

-a.

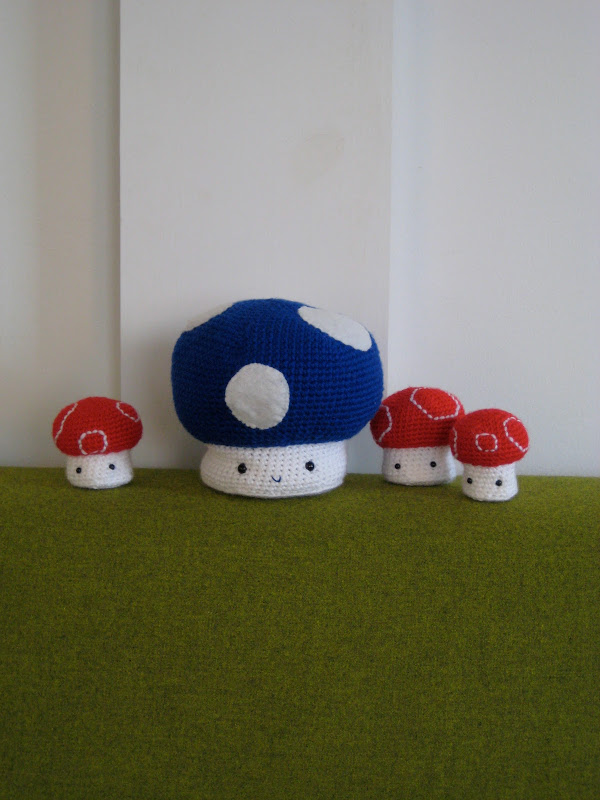
Remember the little crocheted mushrooms for our baby that I posted about a little while back?

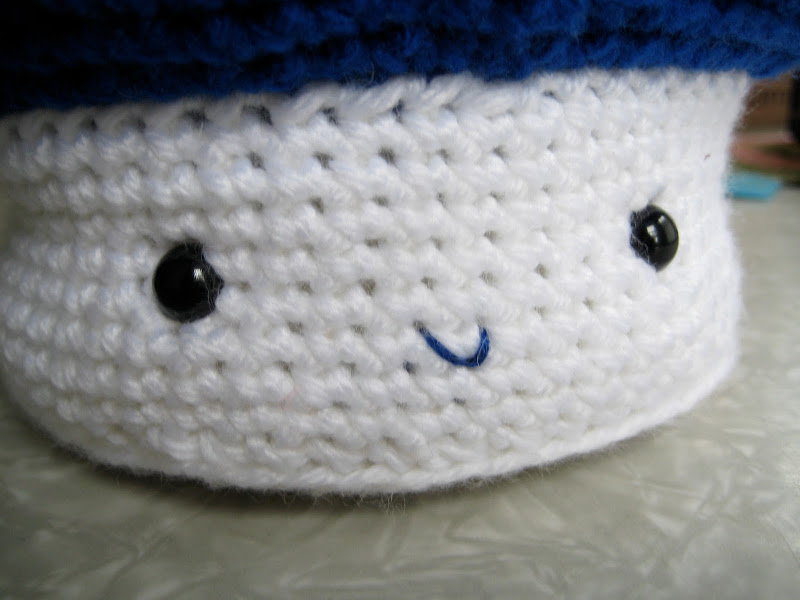
For Christmas, I made a big blue mushroom for our niece Layla! The red ones are the ones I made for our baby. I put them in the picture so you can see the size difference. Also, instead of stitching circles onto the cap I followed the original pattern and sewed felt circles on instead. I think I actually like the felt circles better!

I’m still hoping to one day make a BIG mushroom, but that will just have to wait.

–c.

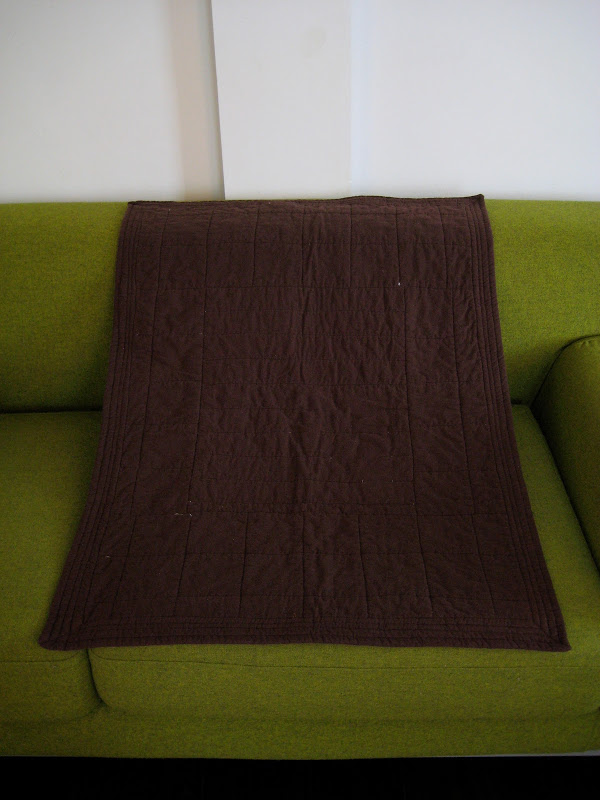
This past October my sister had her 4th baby, a little girl named Phoenix! For her Christmas gift I made her a little quilt, which was technically the first quilt that I have ever completed.


I started a quilt for our baby a few months back, but have yet to finish it. The one I made for Phoenix is a lot smaller than the one I’m making for our baby and it turned out to be a good learning experience. I almost tore my hair out a couple times, but overall I’m happy with how it turned out. I’m confident that I am now better equipped to handle a larger quilt next time around.

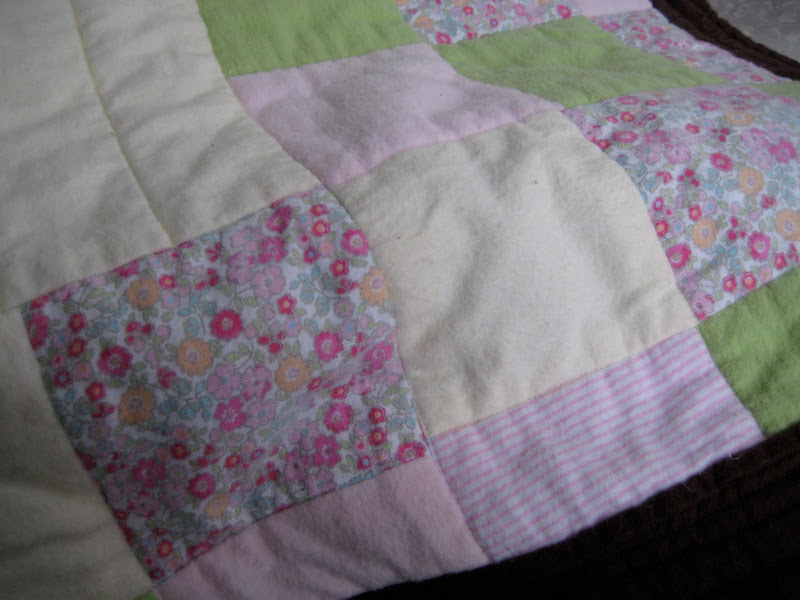
I made this quilt out of flannel and though in the pictures it looks good enough, it’s by no means perfect. Honestly, I don’t really know how to sew too well and half the time I’m just improvising as I go along. There are plenty of puckers and bunches in places, but oh well!

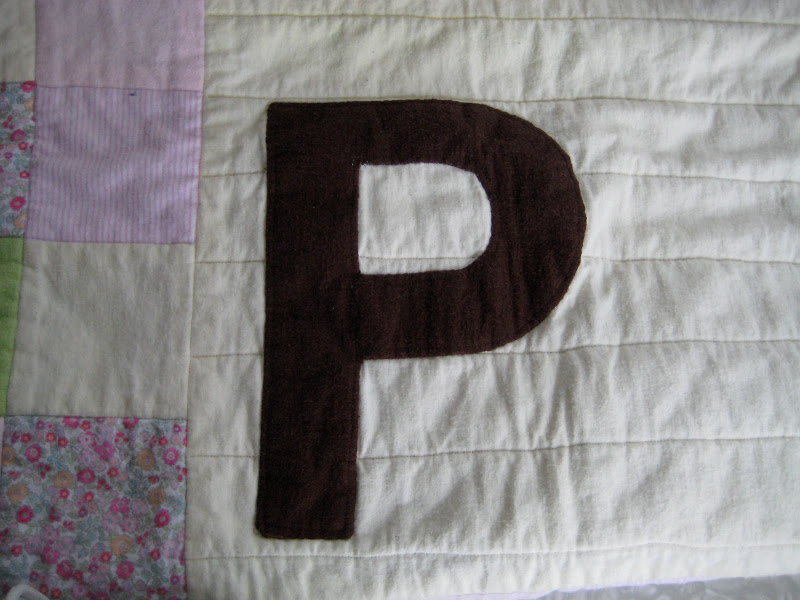
Here are some detail shots:


-c.

I became a fan of Jennifer Murphy the minute I set eyes on her site. She makes some of the most beautiful stuffed animals I’ve ever seen. One day I would love to own one of her pieces, but 1.) there’s no way I could afford one and 2.) they sell out super fast.

Luckily for me Jennifer teamed up Midwest of Canon Falls and licensed some of her designs for mass production. Most of the designs are now retired and no longer being produced but can still be found some places online.

I happened across this one at a local store recently. Other than the ornaments on our tree, this is our only other holiday decoration. I love it!

–c.

Uncategorized

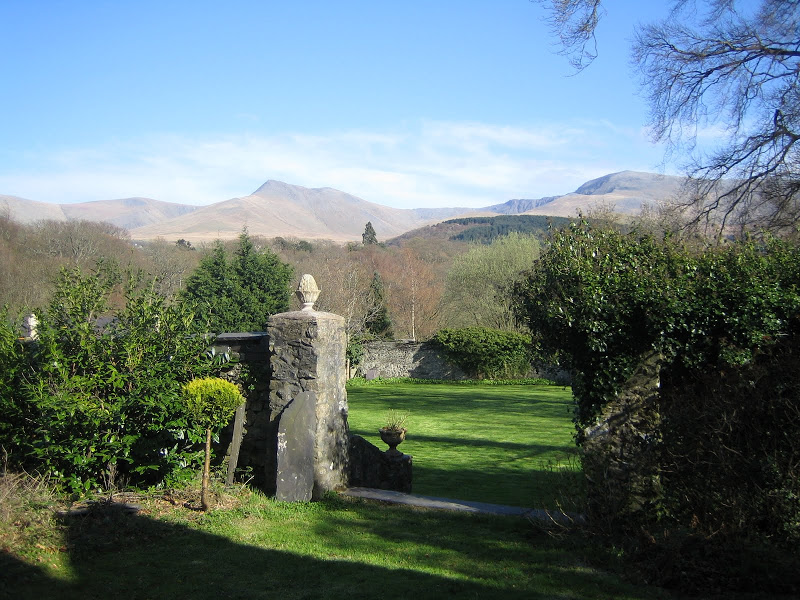
Wales, April 2006

A view from Bryn Derwen Studio located in Snowdonia National Park.

–c.

Welcome to the first installment of “Christmas Gifts 2009,” where you’ll finally get to see what we’ve been up to the past couple months!

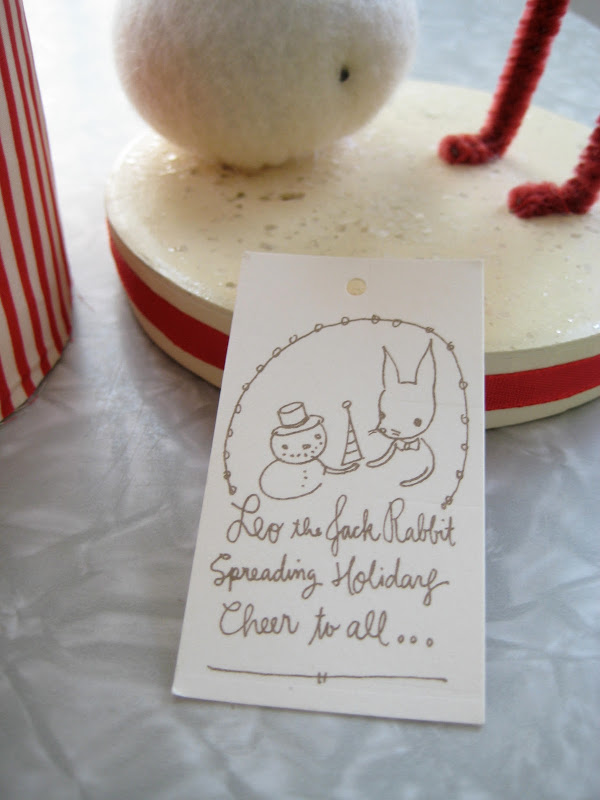
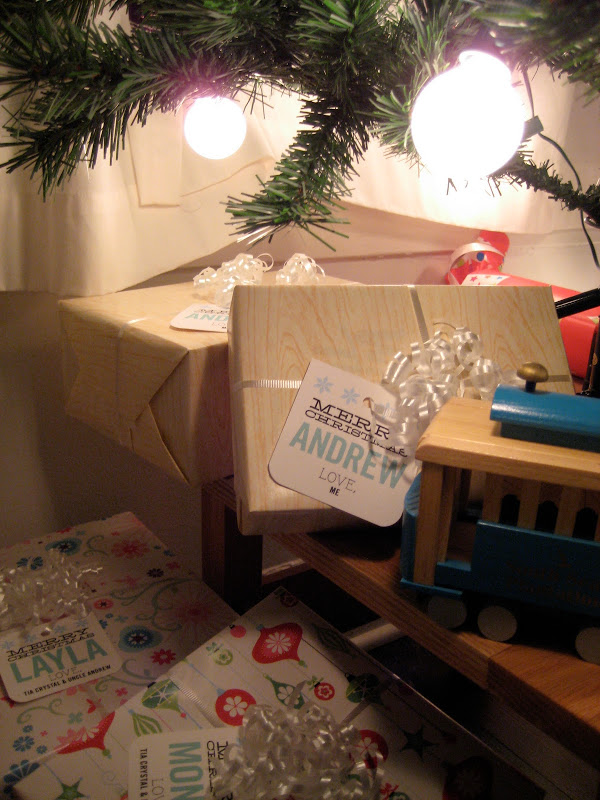
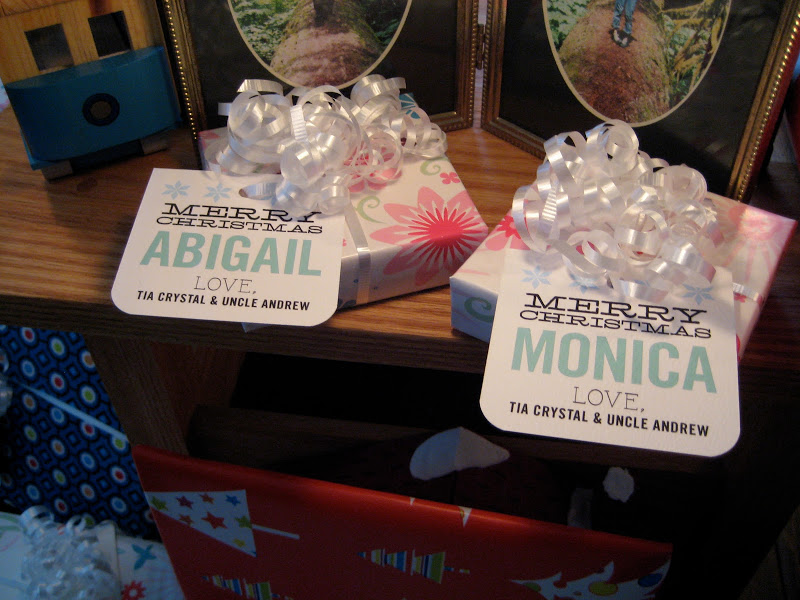
In the past, I’ve really gone all out on the wrapping but this year I kept it simple: store bought paper and ribbon. One thing that I did do was design gift tags. They turned out better than I expected! I really think it’s the way to go if you want to do something fun but not spend a million hours wrapping gifts all fancy.

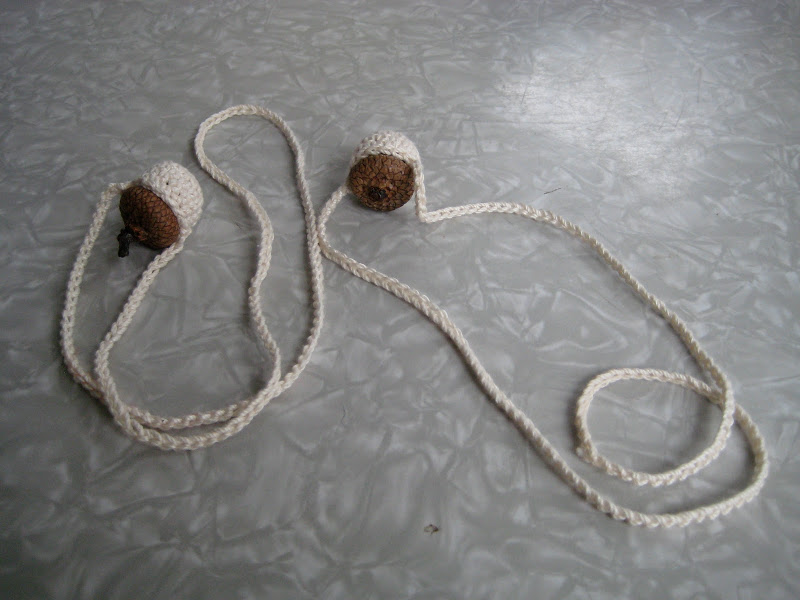
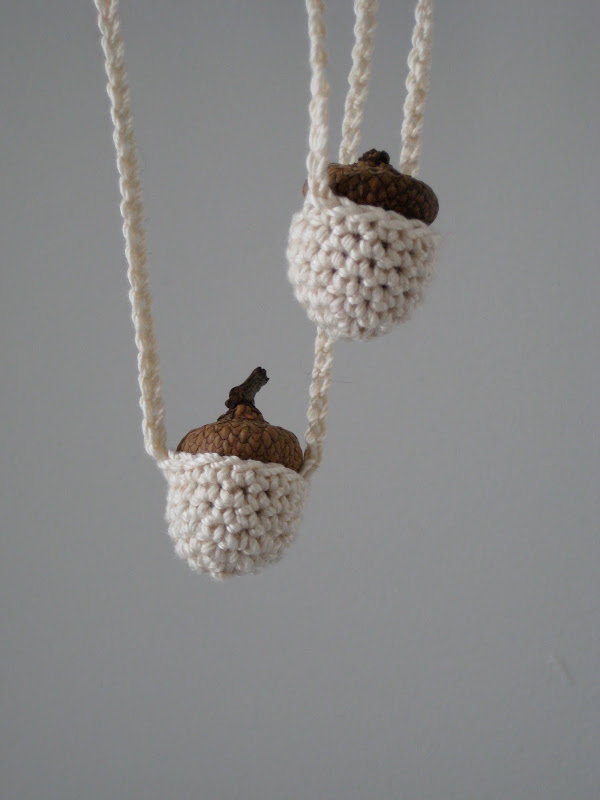
And what are in those little boxes? You’re probably wondering… Acorn necklaces for my nieces Monica and Abigail!

I found this tutorial on how to crochet acorn necklaces from one of my favorite blogs, Resurrection Fern (a blog I briefly posted about a little awhile ago.) A few months ago Andrew and I gathered acorns in the woods behind my parents house. I’ve actually made quite a few of these necklaces, experimented with different yarns, strings, and embroidery flosses; and I’ve decided that crochet thread worked best for me. It comes in different thicknesses but I prefer it on the heavier side. It gives the necklace a nice weight.

One thing about acorns! If they’ve been on the ground for a little while, you might want to bake them before you put them in the necklace. Otherwise, you might find little ants crawling all over you! Better yet, just don’t use any acorns that have little holes in them. I learned the hard way.

–c.