I’m exhausted right now, so I’m going to try to keep this brief. Nike Training Camp kicked my butt tonight and my legs are like jello (as is my brain, so bear with me!)
I’m a working Mama. I’m also nursing a 5-month old baby, so that means I have to pump while at work. When I went back to work in November after my maternity leave, my co-workers gave me a potted Amaryllis bulb as a “Welcome Back” gift. Turns out, this is the PERFECT gift for a pumping Mama!
Pumping isn’t the most glamorous or the most fun thing to do with one’s time. It’s a lot of just sitting there (thank goodness for smart phones and this bra.) And you look and feel like a milking machine with tubes and bottles and plastic breast shields. It’s quite a sight.
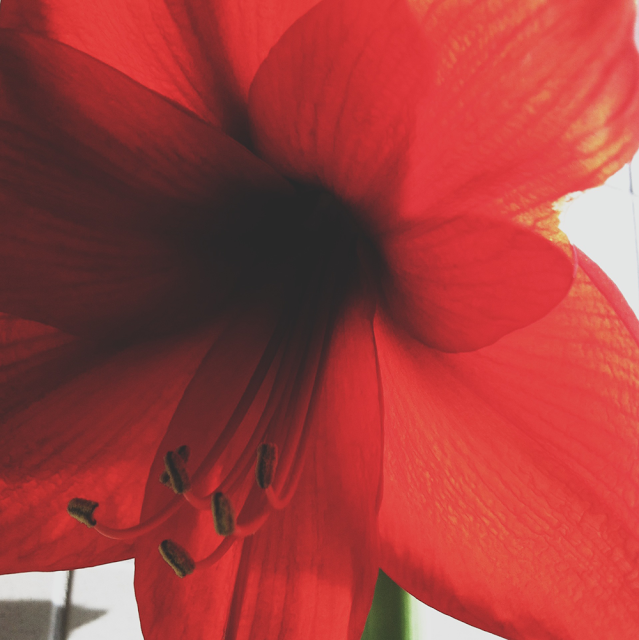
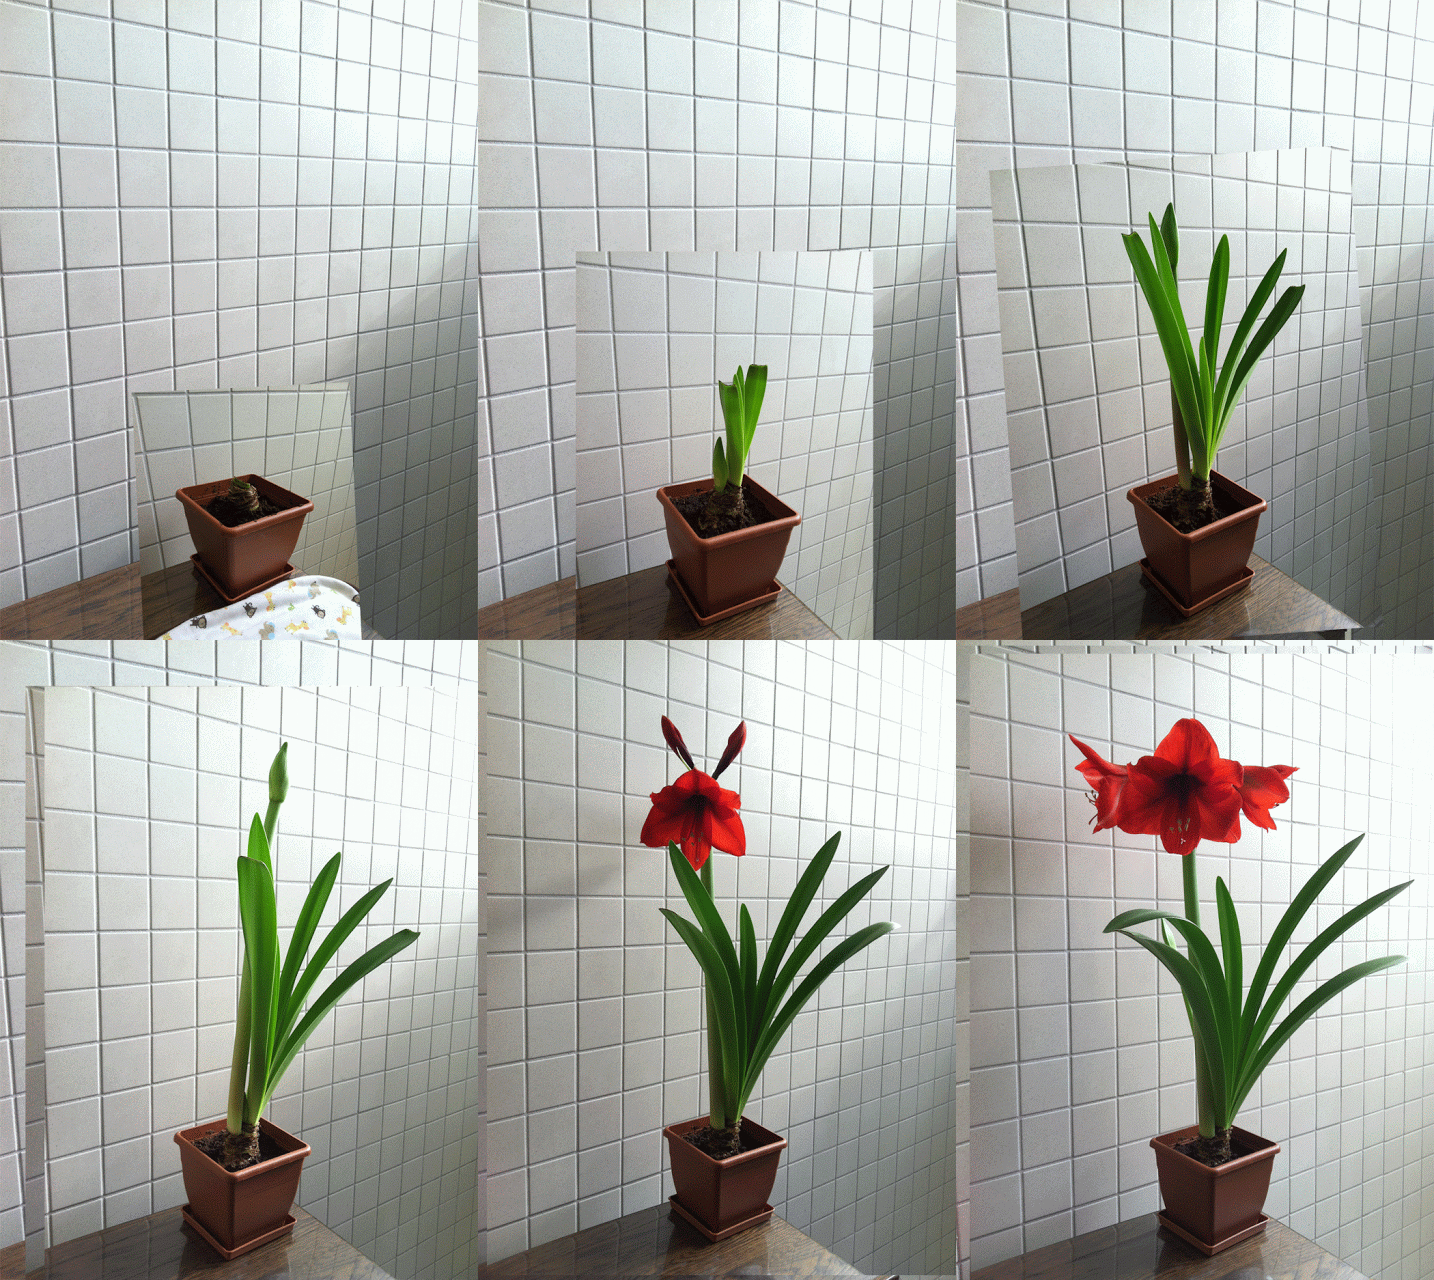
However, I’m fortunate to at least have a pumping room at my office with a lot of natural light. When they gave me this potted Amaryllis bulb I decided, rather than put it at my desk, I’d put it in my pumping room. These past two months I’ve been back at work I’ve been able to watch my plant grow and it’s been absolutely fascinating, calming, and peaceful. Since Amaryllis are very fast growing it gives me something to look forward to every time I have to pump. This week, it bloomed (as you can see in the photo above.) Here is a rough time-lapse from the past two months:
This could be a great gift for a non-working Mama as well. It’s easy to care for and has a big impact when it blooms.
Any working Mama’s out there who pump during their workday? How do you pass your time while pumping?
xo,
c.
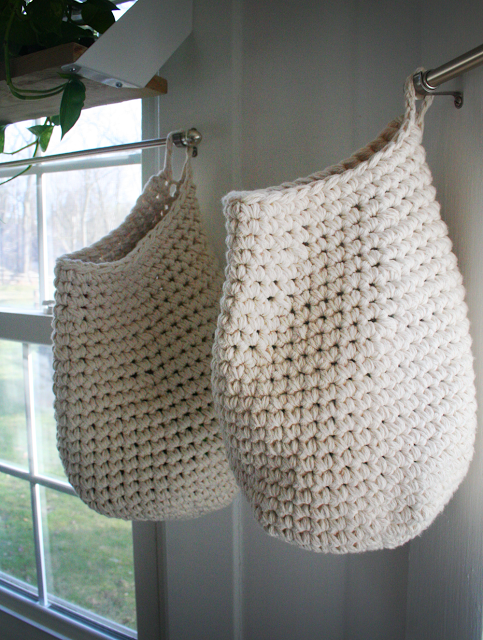
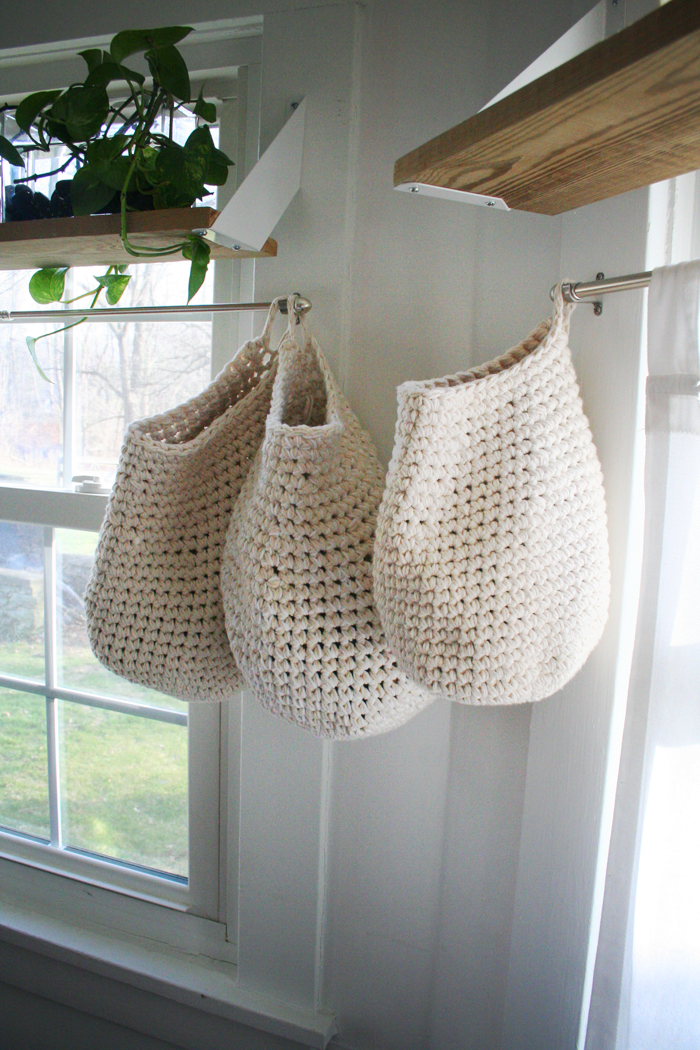
As promised, I put together the pattern for the crocheted toy bags that I’ve been making lately. This is the first pattern I’ve written, so bear with me and please let me know if you find any errors or if any of the directions are confusing. (more…)
Like most households with small children, the toy situation seems to get out of control fast. You somehow go from 0 to 1,000,000 toys in only a few short years! They multiply like a wet Mogwai and next thing you know you are constantly stepping on small sharp things and doing a monthly under-the-couch sweep of wayward balls and anything with wheels. You have entire sections of your home devoted to them and somehow they end up everywhere but there. You get so sick of putting things away that you eventually just get a huge bin that you throw everything into only to have your kid dump it out the minute you put the last toy away. Andrew said that one time he intentionally didn’t pick up after Quil just to see what the house would look like in one day. He said by mid-afternoon, it looked like someone had robbed the place. Drawers out, couch cushions overturned, cabinets open!
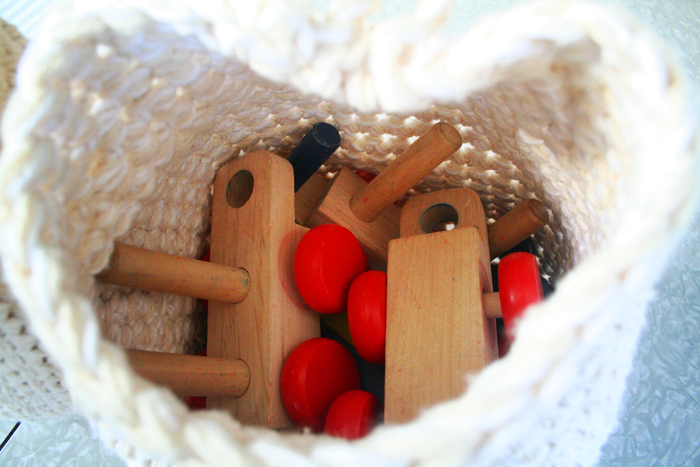
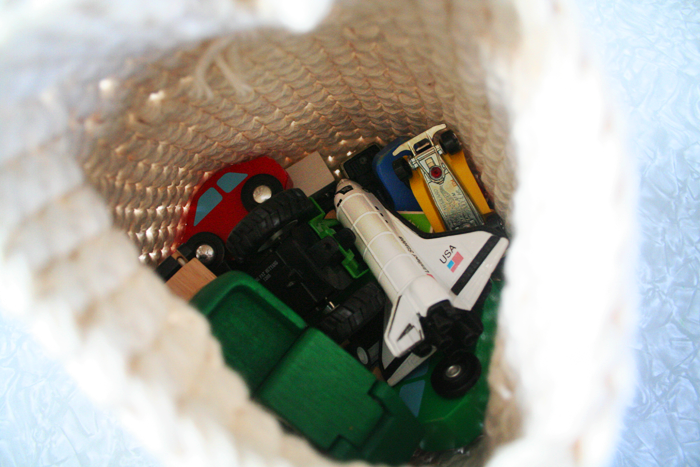
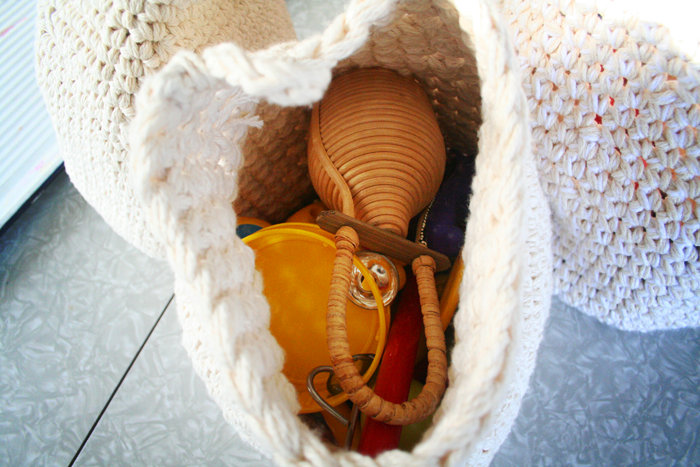
But one thing we learned with Quil is that he is pretty good about putting things away if each type of toy has its own container and not just one catch-all bin. We started off with just cloth bags that you sometimes get when you buy a pair of shoes. But we only had a couple of those. So I decided to start making some crocheted ones. Now he’s got bags for puzzle pieces, train sets, musical instruments, cars, and he can remember which ones go where for the most part.
Don’t get me wrong. His toys still get everywhere, but it does seem more manageable when everything has a designated bin/bag. I still need to make a few more, but these are super easy to make and work up pretty quick since I crochet three strands at once with a large hook. Check back later this week for a pattern if you are interested in making some for yourself.
***UPDATE***
The pattern is now available here.
xo,
c.
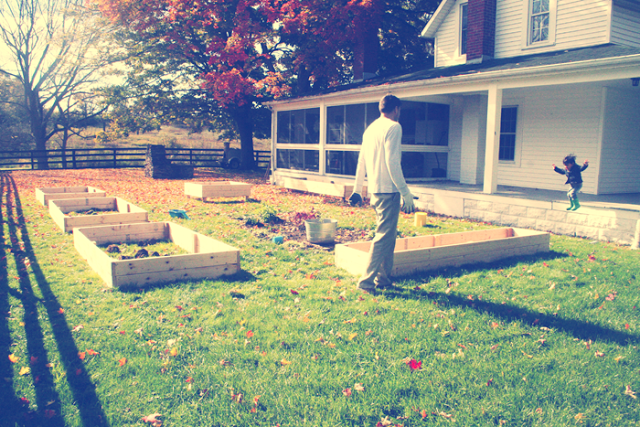
It’s that time of year again! We had a little break from garden planning during the holiday, but now the seed catalogs are out and the mad dash has begun to be ready to hit the ground running once the weather starts to warm up. I know, I know it’s still January and we have many cold days still to endure before the ground is even close to ready. But it sneaks up on us every year! We always miss those cool early days that are perfect for greens, lettuce and spinach and I am determined to get as much growing time as possible this year. We got smart after last growing season and started prepping the garden in the Fall before it turned cold, but more on that later since that’s a bigger post. Super excited to share all the new garden plans.
But for now, here’s a list of what we’re planning on growing (all our seeds are from High Mowing Organic Seeds this year):
Kentucky Wonder Pole Beans – We’ve done bush and pole beans in the past, but I prefer the pole varieties. Not only am I sucker for any plants that climb (space savers and they are beautiful to look at) but I like the fact that we don’t have to harvest all at once. You get just the right amount of beans over a longer period of time.
Danvers 126 Carrots – Another fun veggie for the kids to harvest. Root veggies are Andrew’s favorite to harvest. Again, it’s like finding treasure!
San Marzano Paste Tomato – We aren’t fans of huge tomatoes. They are too watery and seedy and aren’t that great for making pizza sauce either. Which is the main reason we grow them. San Marzano’s are the best for sauces and such because they have a lot of pulp (aka, the good stuff.)
We haven’t done flowers much in the past. In previous years, we just didn’t want to expend any more time or energy tending to things that we couldn’t eat. But this year, we’ve finally branched out. No pun intended.
Since the little ones came along, we’ve really been putting effort into creating family traditions for them to look forward to every year. With Ellis being so young, we decided to start with something fun and simple this year – making fingerprint ornaments for us and the Grandparents.
This idea actually came from an ornament that my younger sister, Flora, made at school when she was little. One of my other sisters found it amongst my parents decorations and thought it be fun to make with our own kids. They turned out super cute!
However, these weren’t as easy as we’d hope. I think it mainly had to do with their age. As the kids get older, I imagine it will get easier but it was actually quite difficult to get fingerprints from a 4 month old! Less so from Q, who is rounding on 3 years pretty soon. But still not quite as easy as I’d hoped. Ellis’ hands just kept grasping my fingers and the ink would get everywhere and smear. Quil would just push super hard on the paper so his fingerprints were just blobs! Plus, both their prints are soooo tiny. It was hard to get a clearly defined print. I also think we didn’t use the best ink pad, so the actual pattern from their fingerprints weren’t really distinct.
Next year, we’ll experiment more to find what ink and paper combo works best. But if you want to give it a try, these are the supplies you’ll need:
- ink pad (washable, non-toxic, child-safe ink) – preferably in a light enough color that you’ll be able to see the lines when you draw on top of the fingerprint. We used a grey.
- multiple sheets of cardstock – a patterned background sheet is optional
- wooden drapery rings – you can get these usually at a craft store like Joann Fabrics or Michaels or Hobby Lobby
- ribbon – thin enough to fit through the eyelets of the drapery rings
- archival ink pens – I used a Micron .05 pen for the black details, and felt tip pens for the holly
- glue
We started off by just doing a bunch of fingerprints of each kid all over the sheets of the cardstock. We figured it would just be easier to center them after the fact, rather than try to get the kids to place their fingers perfectly in the center of a small circle. I used Ellis’ thumb since her fingers are microscopic. And Quil used his index finger.
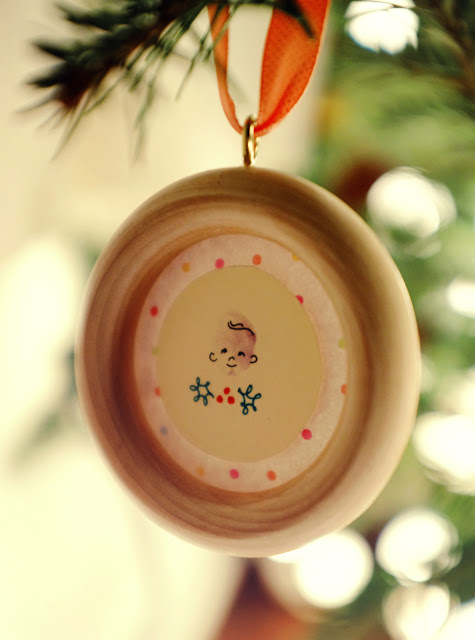
Be sure that you leave enough space around each fingerprint so that it can be mounted onto the drapery ring. This is why I had to use the patterned paper on Ellis’ portrait. I accidentally had the particular fingerprint I wanted to use too close to one of the others. This resulted in a paper circle not big enough to mount on the drapery ring. To remedy this, I cut out around the fingerprint I wanted to use and, with a mounting square, affixed it to a larger circle cut from the decorative paper. I then mounted that larger circle onto the drapery ring.
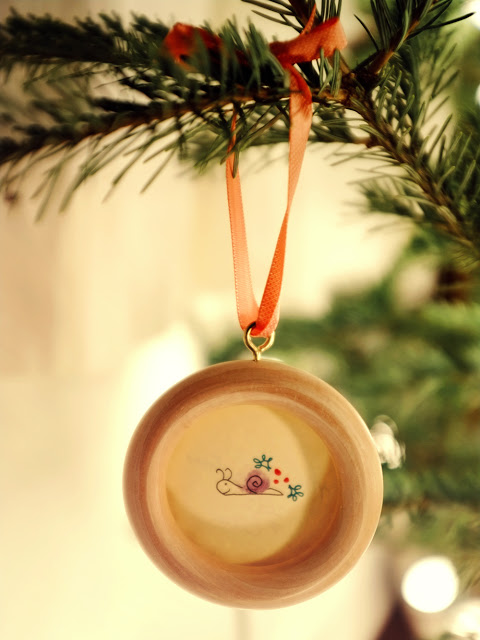
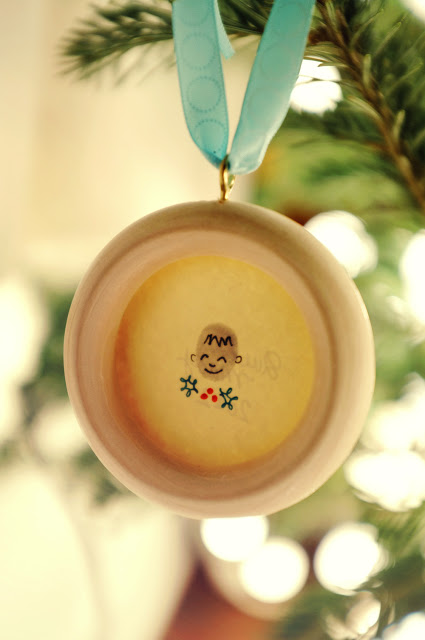
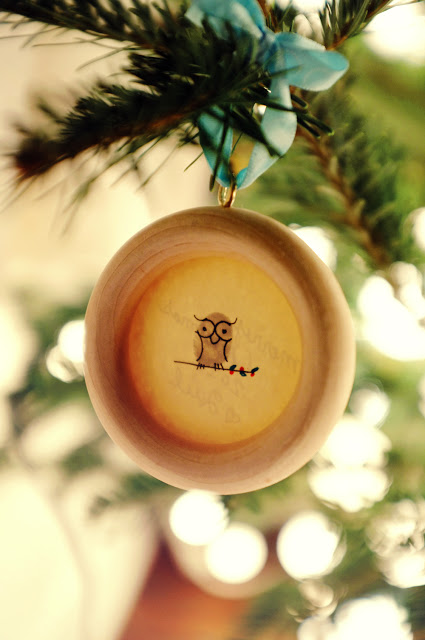
After the fingerprints were dry, we chose the best ones and used this book as inspiration for drawing creatures. I chose the snail for Ellis and an owl for Quil. I also did simple portraits of each of the kids with their respective prints.
Cut around your drawing making sure it’s big enough to glue onto the drapery ring. We then wrote the kids’ names on the back with the year, applied glue around the front edge of your circle, then attached it to the drapery ring. Add your ribbon and you’re done! Here are all of ours:
We hope to do this with them every year and eventually have them do the drawings themselves. I probably will look forward to this tradition more than they will!
-c.

