Crystal Madrilejos

Design & Creative

Uncategorized

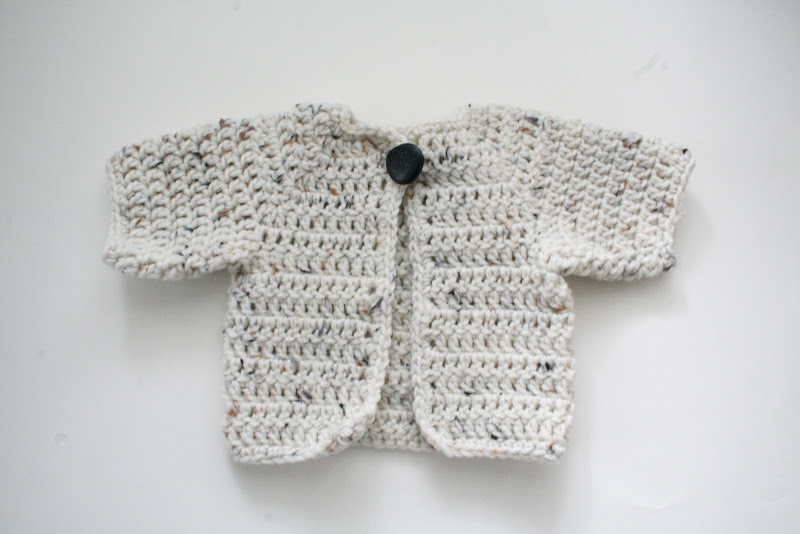
Baby Sweater #2

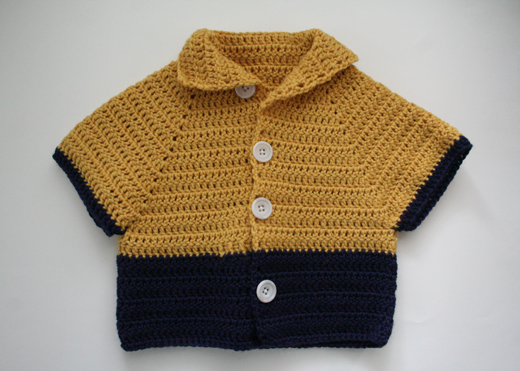
Baby sweater #2 is from this pattern called “Everyday is a New Sweater Day” that I found on the blog Yarny Days.

I changed it up a little bit because I think I messed up somewhere along the way and had to improvise. But it turned out ok. Instead of a long sleeve, it’s more of a 3/4 sleeve and more poncho looking than I think the pattern intended. I also put buttons down the front instead of just the two at the top and I also preferred it with the collar down instead of up. It just seemed like it might be too constricting around the neck.

I think I may eventually try this one again and try to do it the right way. But baby probably won’t be wearing this one for a little while since it’s sized for a 12 month old. So I have time!

–c.
Uncategorized

Sweaters

Up until recently I hadn’t yet ventured into crocheting any type of real clothing. I stuck mainly to scarves, bags, hats, Amigurumi animals, and now diaper covers. I don’t know when I will be ambitious and courageous enough to crochet a sweater for myself, but it seems that baby sweaters are the perfect way to start. For one thing, they are small so you don’t spend a million hours on something to find out that it is is downright terrible. And for another, baby doesn’t really care if it’s not perfect. The baby itself actually makes something so-so, into something really cute!

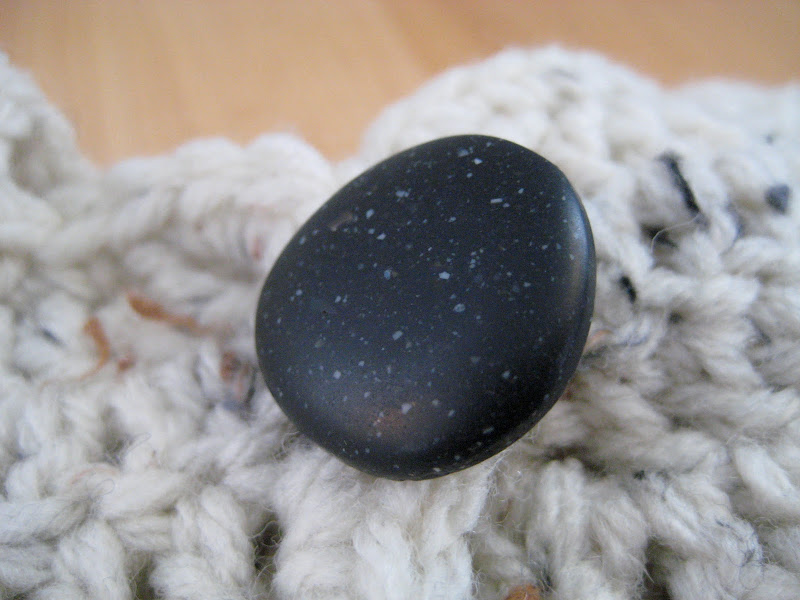
I made this sweater from a free pattern I found online. It’s for a newborn size and I think it turned out well. I have a stash of yarn that I feel obligated to use up before I buy new yarn (unless I have a project that calls for yarn that I don’t currently have) so this sweater isn’t made out of the softest stuff in the world, but I liked the color. And I love the button!

–c.

Uncategorized

Diaper Covers

Before we even knew we were having a baby, we knew that if we were to have one we would use cloth diapers. We realize that it’s not for everyone, but for us, it just made sense. There are a few different styles of cloth diapers and you can read about them here.

We’ve been fortunate that many people bought us the fancy pocket Fuzzibunz diapers for our baby shower. But we are also preparing ourselves for having to use pre-folds just in case it turns out that 10 pocket diapers are not enough to keep up with baby’s needs. With pre-folds the diaper is separate from the diaper cover. Covers come in a few different materials from plastic to wool; wool being on the more attractive end (in my opinion), but also on the more expensive end.

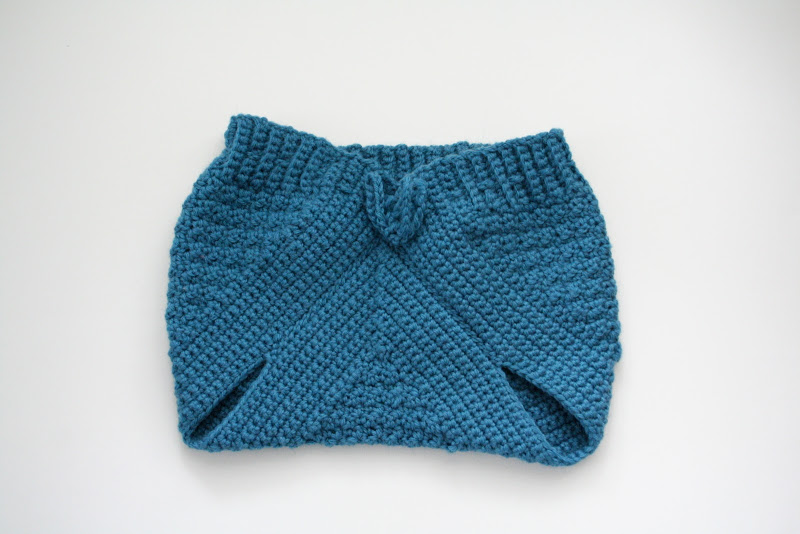
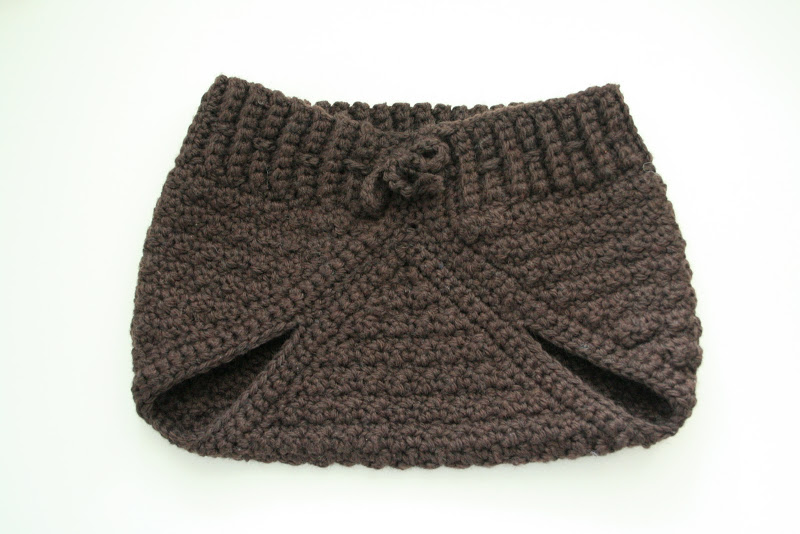
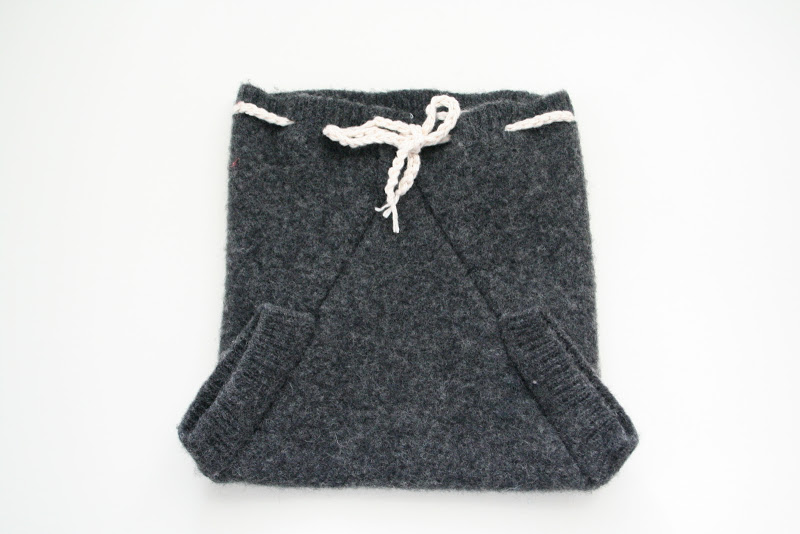
Luckily, there are many tutorials online for making your own wool diaper covers. I tried a couple different versions and plan on trying more if it turns out that we need more. The two patterns I tried were this one for a crocheted wool diaper cover (also called a soaker) and this one for a wool felted version made from recycled wool sweaters.

The crocheted ones look a little different from one another because I changed the pattern on the blue one (shown at the beginning of the post) to make it smaller. This brown one is made exactly as the pattern is written and I tried it on my 10 month old niece (she wears cloth diapers too) and it fit her perfect. The blue one might fit the baby after a couple months.

I made a bunch of recycled wool sweater covers because they are very, very simple to sew. (And a lot less time consuming than the crocheted ones.) This is just one pair that I happened to like the best. One thing I learned is that it helps if the wool isn’t too thick because it gets hard to sew and the cover turns out super bulky. The wrist bands of the sweater are used for the leg holes.

–c.

This little one is making me exhausted and I will blame him/her for the lack of posts lately! Every time I sit down to post, my brain turns to mush and I can’t think straight. I figured I should give an update in the baby department since it’s been awhile and some of you might have been wondering.

We had an appointment with our doctor today and everything is going well. We had an ultrasound and are scheduled to have one every week from here on out due to the fact that I have gestational diabetes. I don’t think I mentioned that before. So far it’s been fine and manageable. I have to test my blood and eat less desserts and carbs than I normally would but overall it’s not a problem. The one hitch though is that it could make for a big baby and so the ultrasounds keep track to make sure our cute little baby doesn’t turn into monstrously huge baby.

As of this coming Friday we will have 4 weeks left (unless I go early or late). But the big question is: a boy or a girl? Will it look like me or like Andrew? The ultrasound technician said baby already has lots of hair!

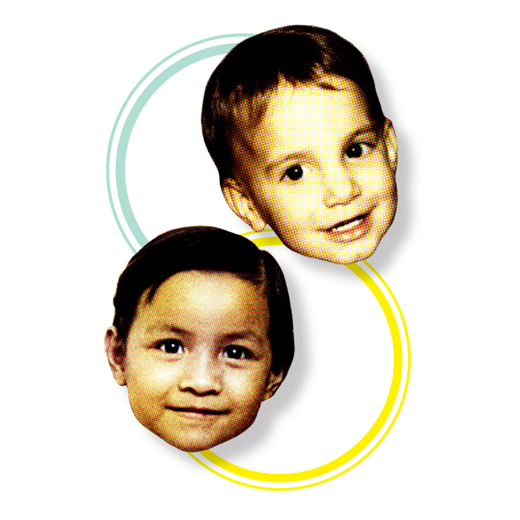
(Those are baby pictures of me and Andrew up there, and yes, I look like a boy.)

–c.

Uncategorized

Rainbow Dog

With all the Christmas gifts we’ve been posting, you may have thought we have been neglecting this little baby of homemade goods but don’t worry. We’ve been busy!

I still have the crocheting bug (to be honest, it’s just the easiest craft to do when I’m sitting in bed or away from home without access to my other projects). I really wish I knew how to knit! A couple people have generously offered to help me learn which I’m very thankful for. One of these days…

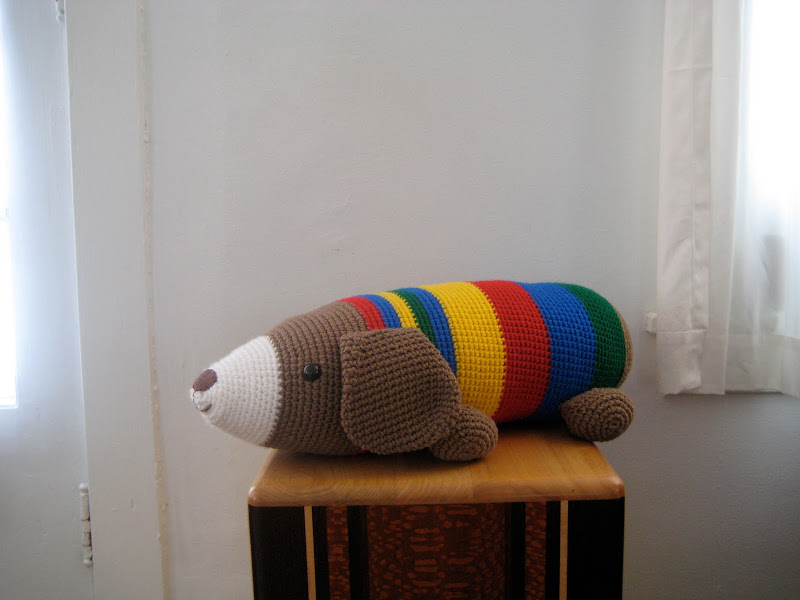
In the meantime, I made this crocheted dog (similar to the one I made before for my niece Layla) but with different colors.

This one is also not as long, which I think happened because I did my single crochet different on the one I made before. For Layla’s dog, I stitched in only the back loops which makes for a stretchier stitch. I also used different yarn for this one. Layla’s dog was made with Caron Simply Soft, which is 100% Acrylic, but still soft (hence the name). But for the new dog I used Red Heart Classic, which is also 100% Acryclic but pretty stiff and not so soft. However, it does hold it’s shape nicely. I’ve always had an aversion to Red Heart because it’s so synthetic that it actually squeaks when you crochet with it. But I guess it makes for a more durable toy and is super cheap.

-c.

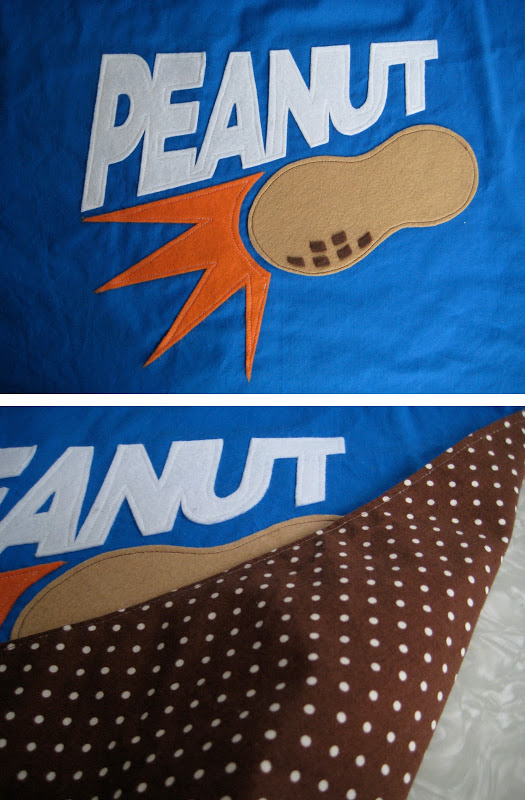
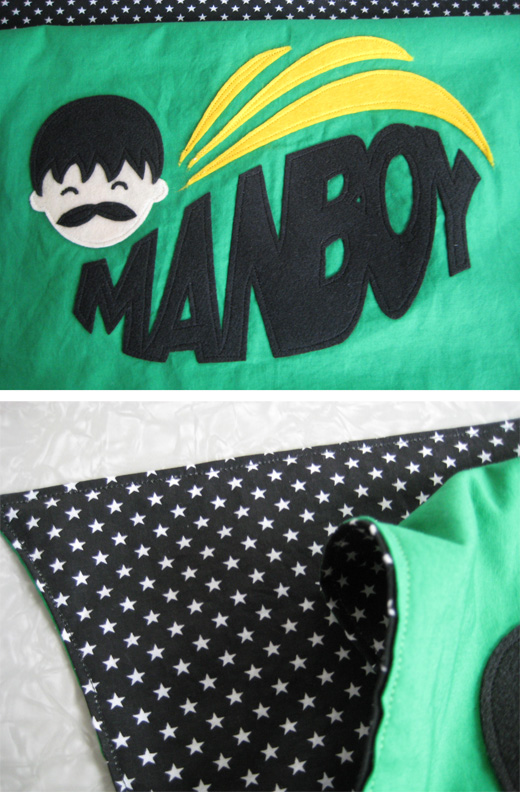
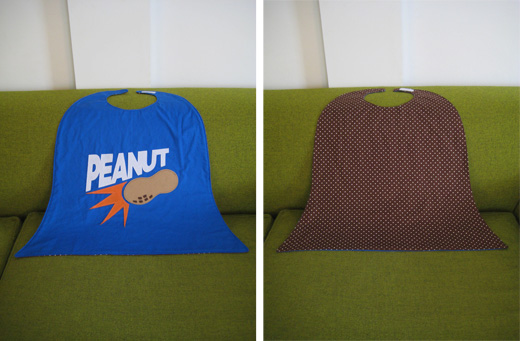
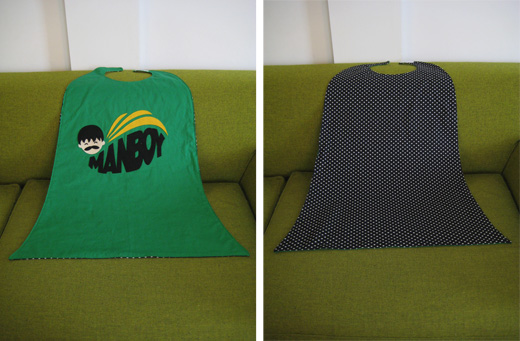
My 5-year old nephew Falcon and my 2-year old niece Arwen are both obsessed with superheroes. So this Christmas I decided to make them their own superhero capes. My brother-in-law has nicknames for them; Falcon is Manboy and Arwen is Peanut. Turns out that these nicknames also work out to be pretty appropriate superhero names too!

I came up with a logo for each of them. Peanut was pretty simple and straight forward, but Manboy was a little more of a challenge. In the end, I think they both worked out well. I designed them on the computer then printed the patterns onto Heat n Bond Iron-on Adhesive paper. I ironed the pattern onto pieces of felt, cut them out, adhered them to the cape, then sewed around them for reinforcement.


I looked around online for some cape pattern ideas and ended up with a fusion between this blog post and this pattern. I’m no expert seamstress so I was delightfully surprised when they turned out better than I expected.


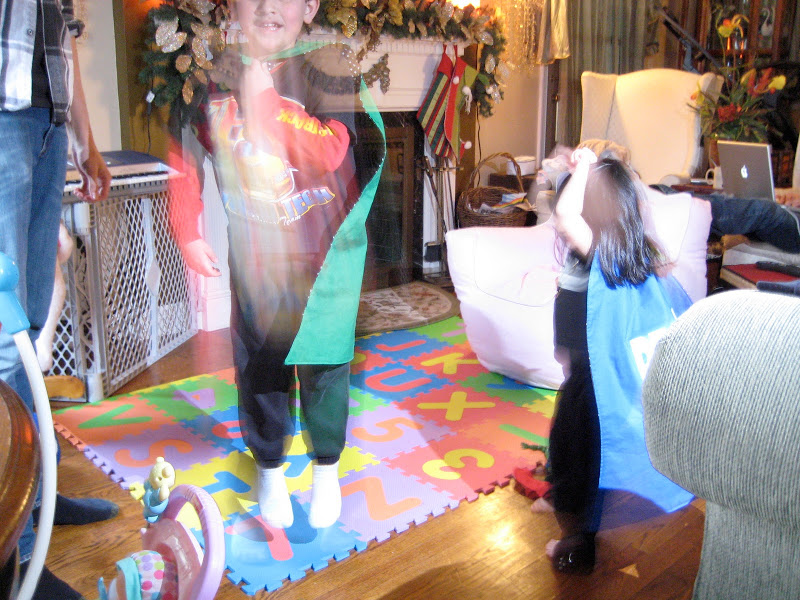
Here is a strange action shot of the two of them with the capes on:

–c.

–c.

Bread is the staff of life. You can filter that through a religious lens if you want, but if you don’t it’s just as true. Virtually every civilization dating back to when the Fertile Crescent was still fertile had some form of flour, water and leavening agent that they mixed together. It’s the food of foods. It’s so simple yet so complex. It’s an art form and while I’m not quite at this point, there are a lot of people out there who can get pretty metaphysical about it.

Crystal is always telling me to post about my bread baking but for one reason or another I never have, until now. It’s exciting, I know.

Many years back I had an epiphany that I could actually make this stuff so I bought yeast for the first time and I’ve been at it ever since. My failures far outnumber my successes but that makes it all the more intriguing. I’m on a mission to make bakery-quality breads in a home oven. It’s quite amazing how much there is to learn, both through reading and good old fashioned trying.

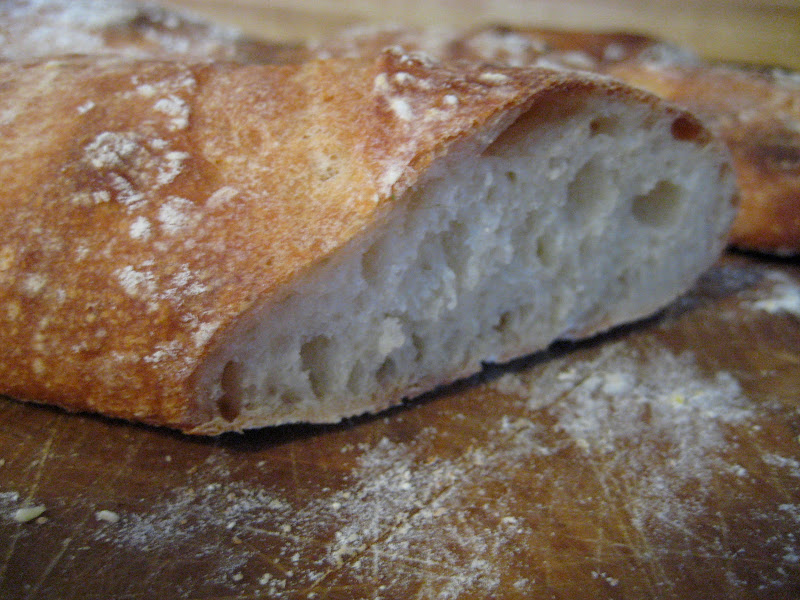
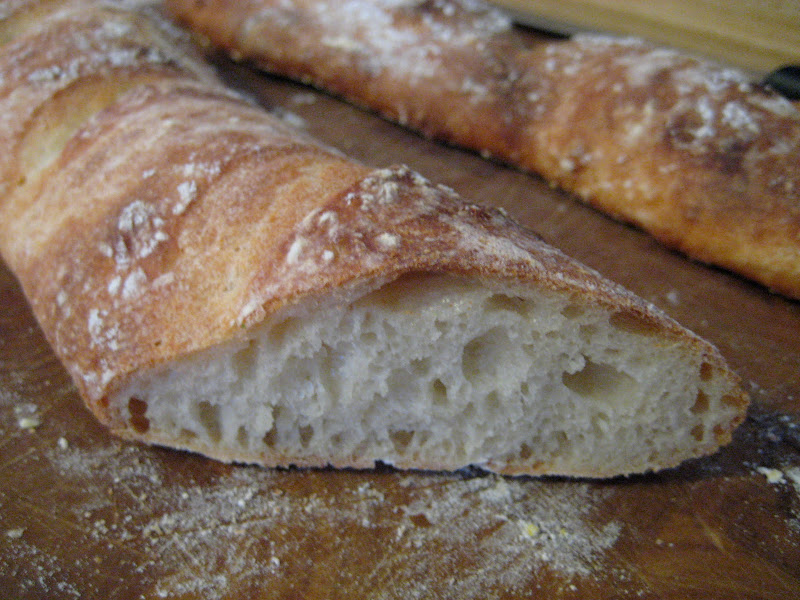
Picture below is my first attempt at Pain à l’Ancienne. I need to work on shaping this kind of dough but overall it turned out really good. (And, as Crys will tell you, I almost never say things turn out “really good.” There’s always room for improvement.)

I’m not just saying this as a cute way to wrap things up but I seriously have some dough proofing that I need to start shaping so I’ll stop here. I’ll continue to share what I’ve learned. I could go on for hours. I love bread.

-a.

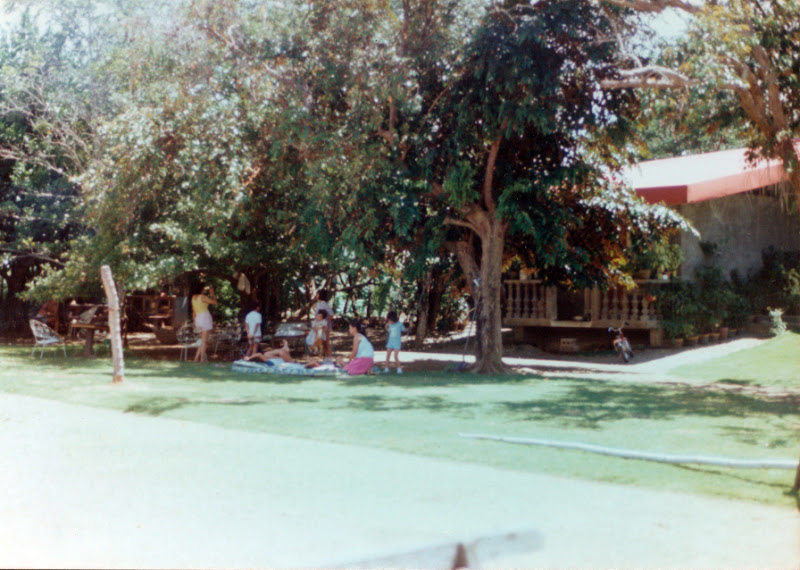
Taken in Pangasinan (where my mother is from) on my first trip to the Philippines when I was 3 years old.

–c.

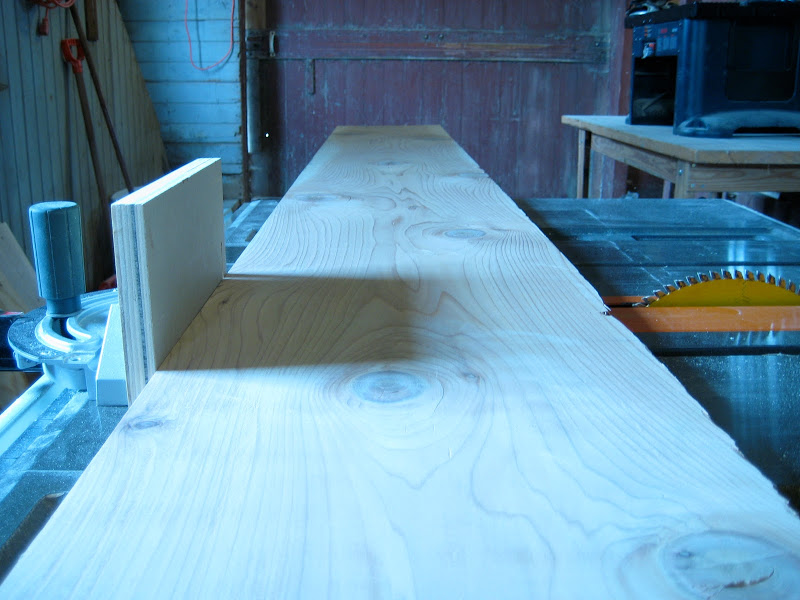
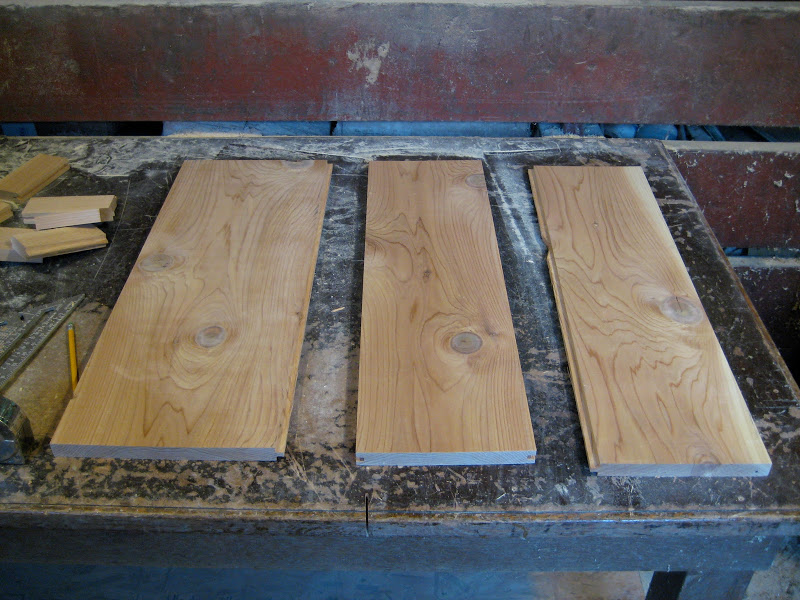
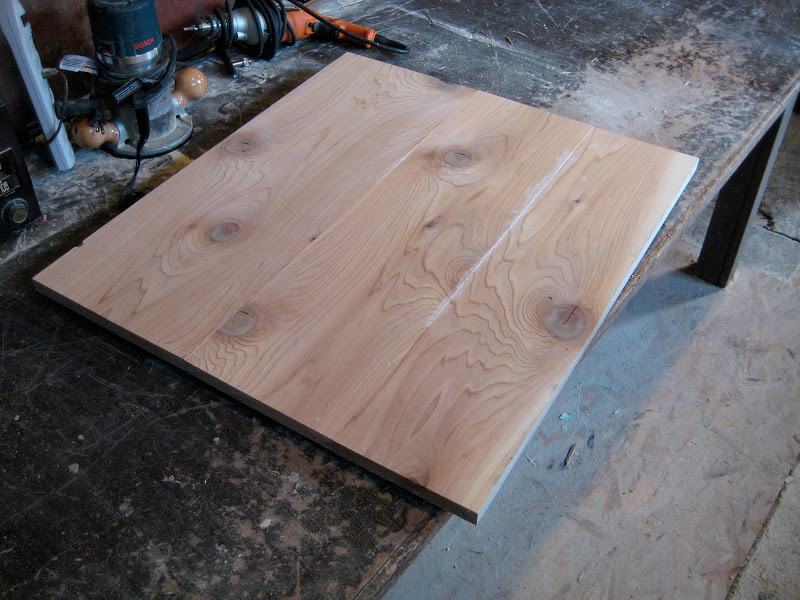
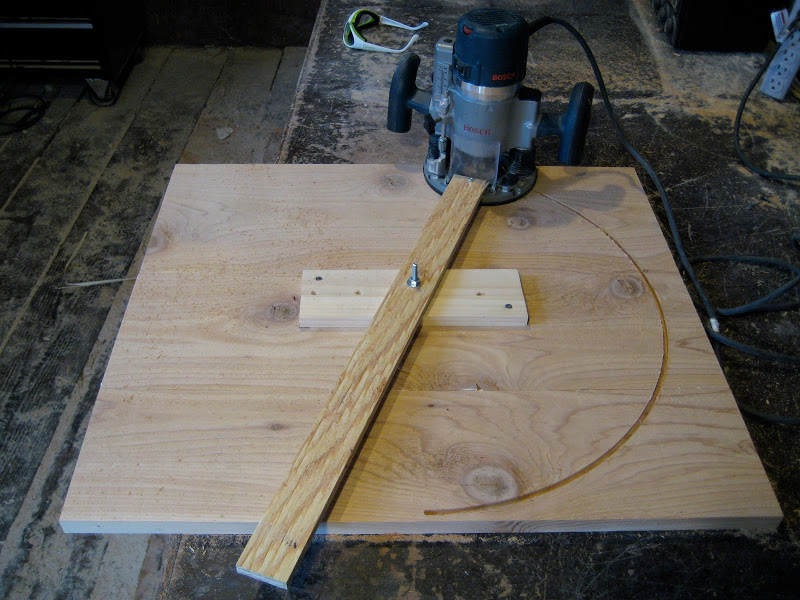
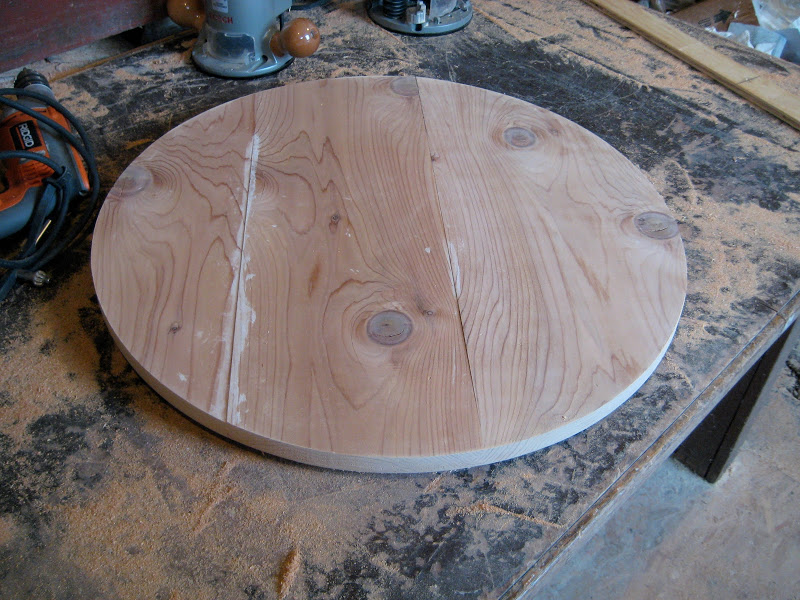
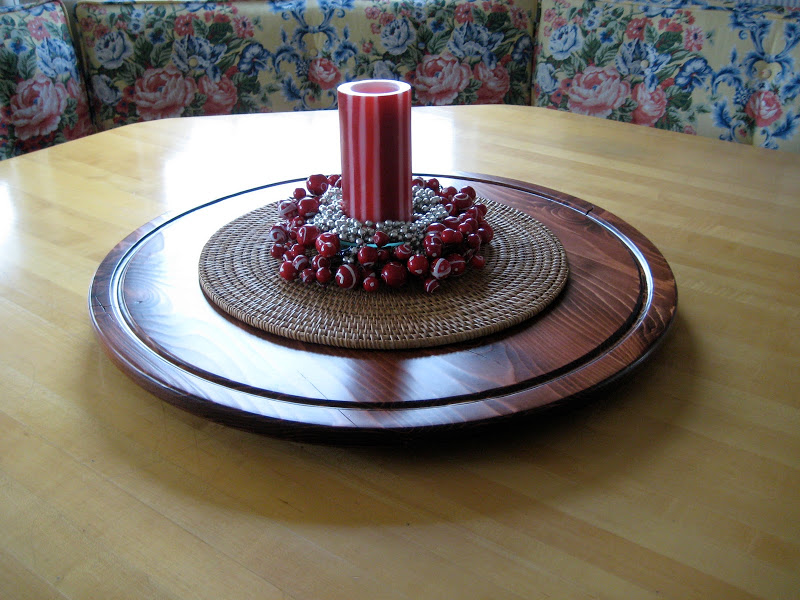
My parent’s Lazy Susan got real lazy and stopped turning so I made them a new one for Christmas. I actually remembered to take pictures of the process too, which is rare for me. As any rational person would do, I’m going to post the pictures in chronological order.


*I used cedar. Why? No particular reason. I’ve just never used it before.


*The tongue and groove joint is a bit annoying to make but worked well here.


*This is after it was glued and clamped.


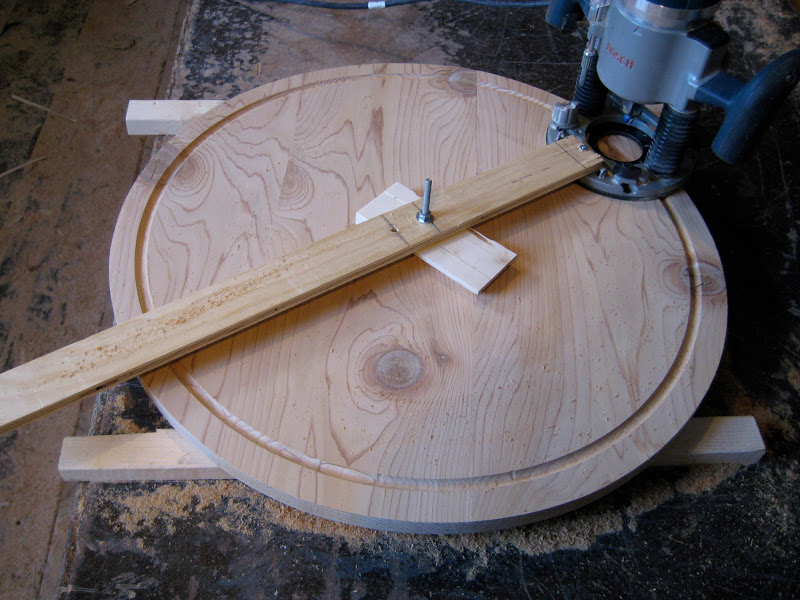
*I made my own jig to cut the circle. You can buy them but that tends to cost money so I just improvised.


*A nice 24″ circle.


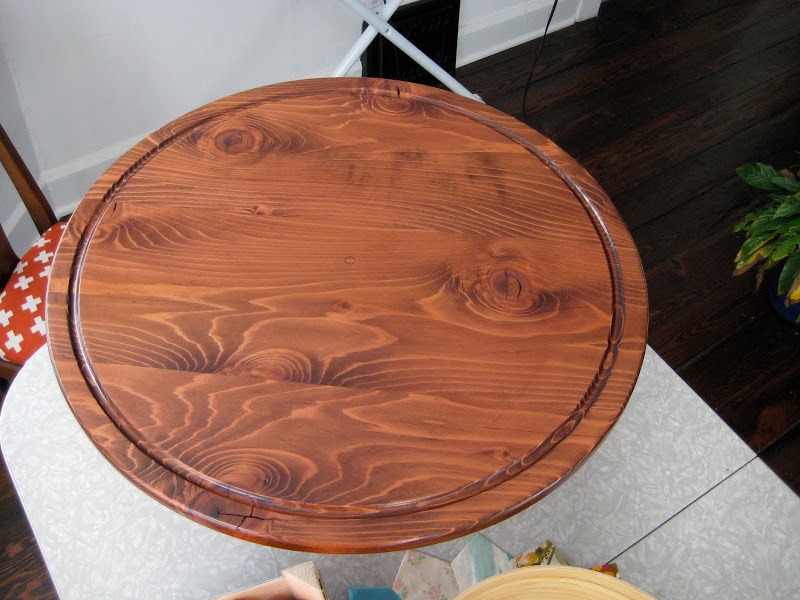
*This groove is for when you spill the gravy. It becomes a gravy moat.


*I used a combination of dye and stain, then four coats of satin polyurethane so it can withstand the rigors of the Lazy Susan life.

For the bottom I cut out another circle of MDF and painted it white. I purchased the hardware (the metal/ball bearing/rotational part) at a local woodworking store called Cleveland Tool & Cutter, which is my new favorite store, and store name. And no, they don’t sell T-shirts, I looked.

Overall I’m happy with how it turned out. I’ve never made a Lazy Susan before, let alone cut a circle out of wood. Let’s hope it keeps on turnin’.

-a.