Crystal Madrilejos

Design & Creative

We’re bit late in posting about the garden this year. But if any of you were wondering about our little patch of veggies, we‘re happy to say that things are going well! We applied much of what we learned last year and think the garden will be even more productive.

A few of the main changes are:

1. We are sharing the garden with 6 other people (same as last year) but instead of one huge plot we divided up the garden and each couple has their own plot. Last year we were a bit ambitious and didn’t anticipate how much work it would be. I think everyone was a bit overwhelmed. The smaller plots are so much more manageable.

2. There is one plot in the center of the garden of lettuces/greens. The salad greens were the one thing that everyone LOVED last year and it worked out so well. We planted 1/3 of the amount we planted last year and still have a ton!

3. Deer fencing has (so far) been our savior! Last year the deer pretty much wrecked us and discouraged us to the point of giving up. There really is no point to doing all this work if the deer are just going to eat everything. So we bit the bullet and invested in extending the fence to about 10 feet tall. Only once has a deer tried to get in this season with no casualties to any of our plants! We’re crossing our fingers that the fence continues to deter them.

The images above was the garden a month ago, and this is the garden today:

Crazy, right?

–c.
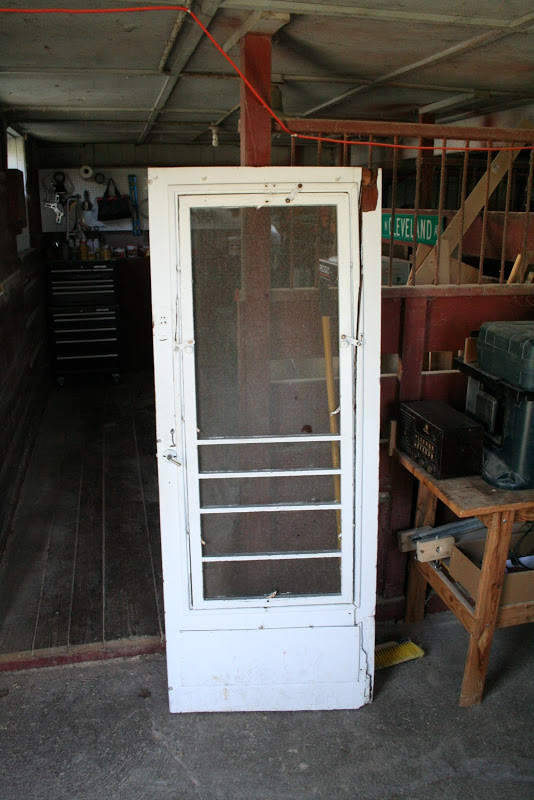
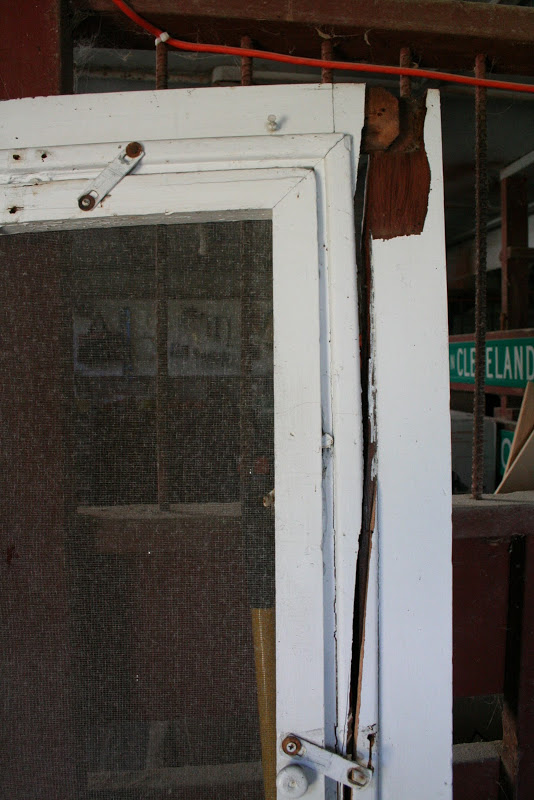
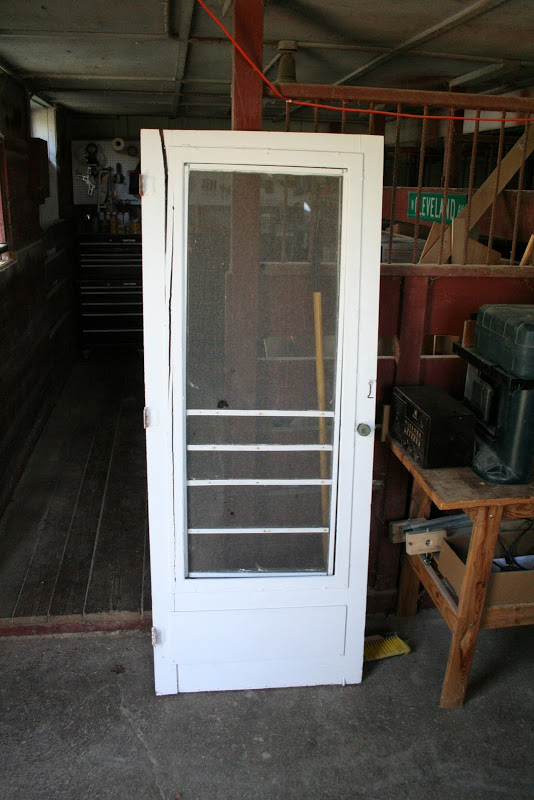
A while back the screen door on our front porch broke. It slammed against the house and cracked. The wind was angry that day, my friends. I swear, it was the wind. Crystal and I aren’t angry people.

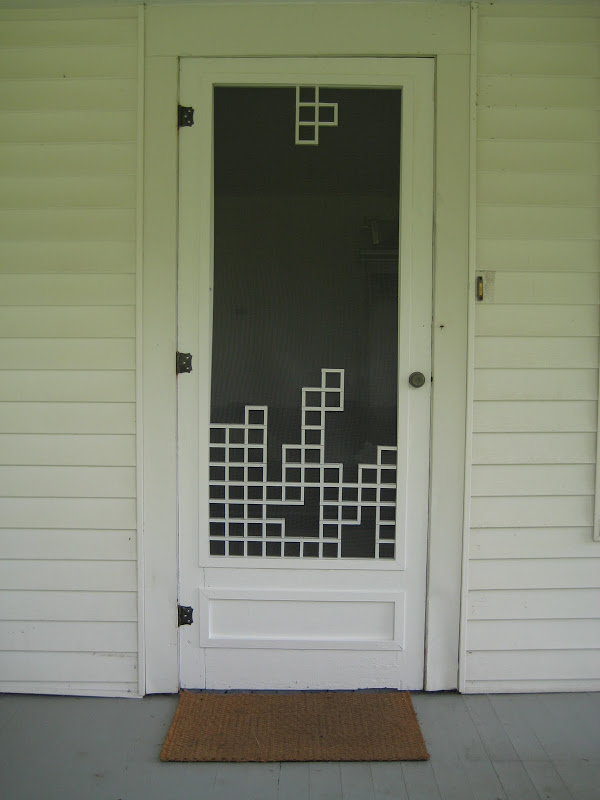
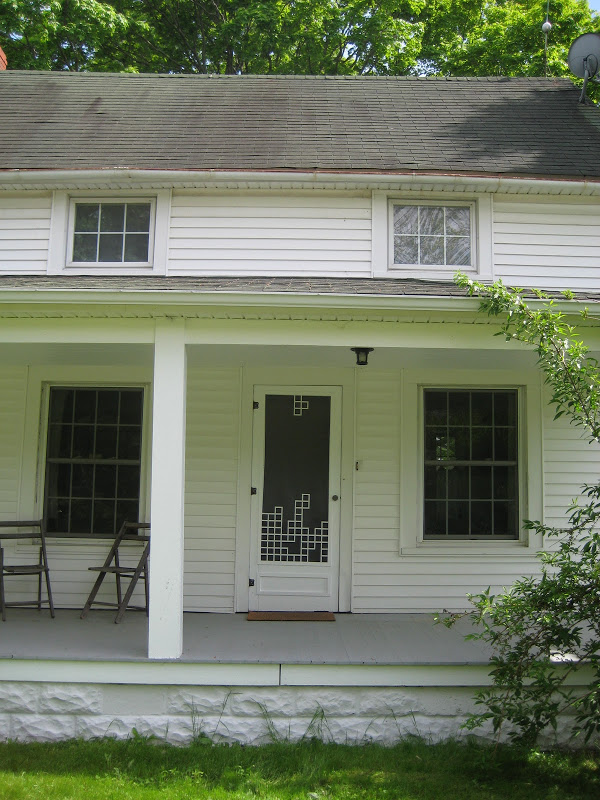
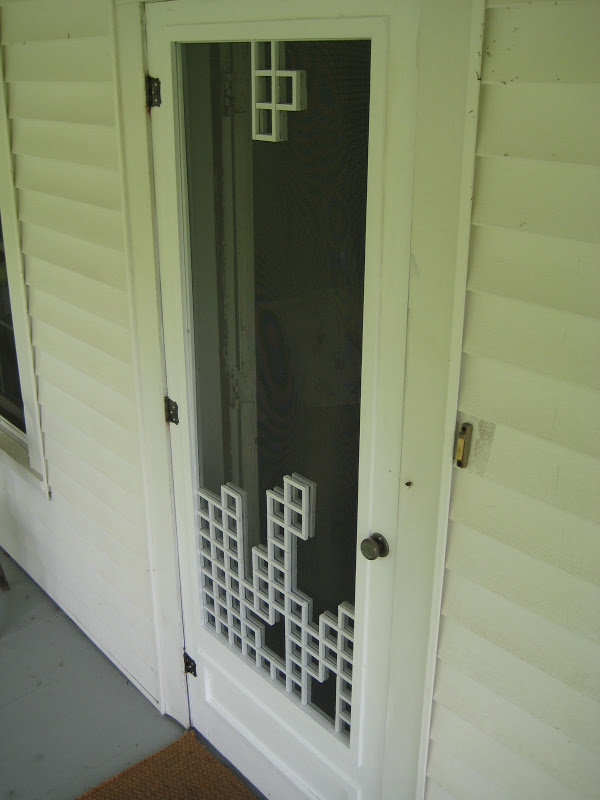
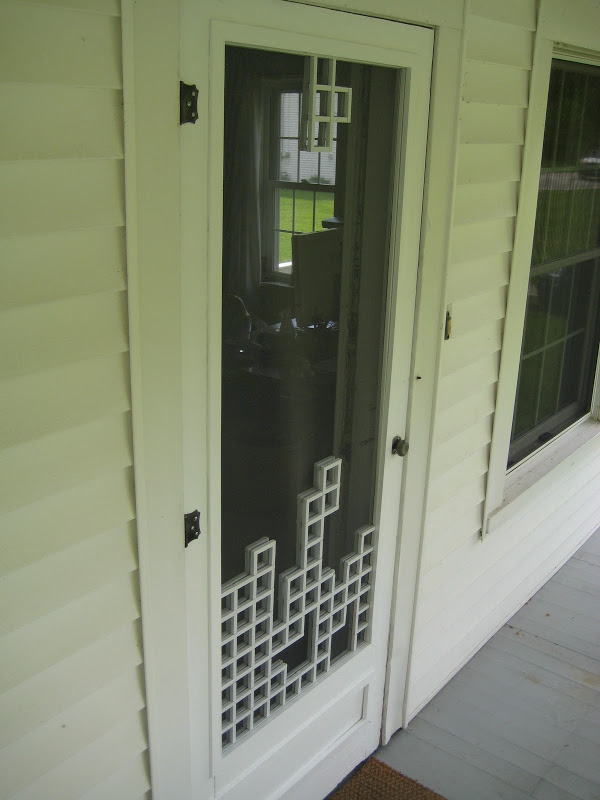
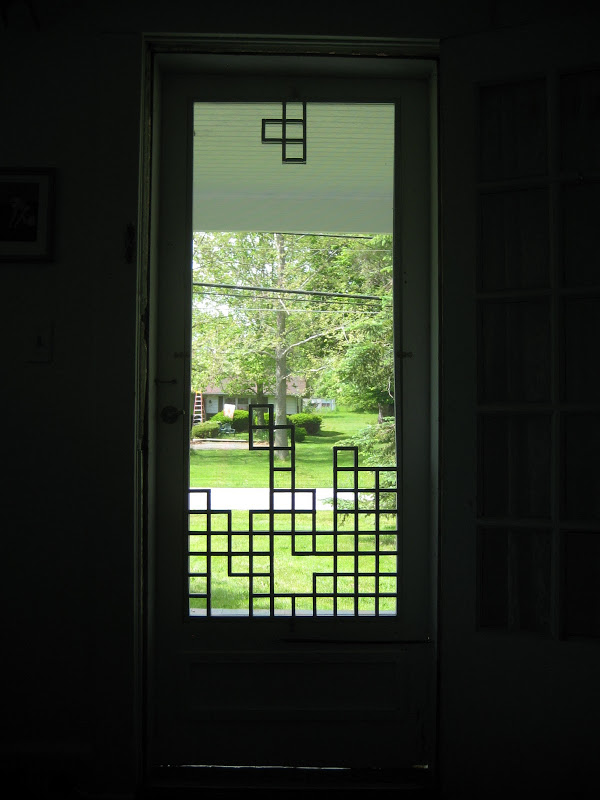
Aside from the crack, the door was in serious need of repair so I fixed it up. For whatever reason the first thought that popped into my head when I thought of screen doors was Tetris. So:

The goal was to not have to buy any wood for this project so I spent many minutes cutting little strips of wood from random 2×4’s and fashioning the molding that frames the opening from other odds and ends. The screened part can be removed so in the future I’m going to make a more “normal” insert. I’ll probably make other non-traditional ones as well. And by non-traditional I mean BurgerTime!

-a.

I just wanted to pop in and say “hello” while Q is taking his nap. It’s officially been almost 4 months since our last post! That’s the longest stretch so far that we’ve gone without posting since the start of this blog. Needless to say, much has happened since you last heard from us. We missed you!

Q is growing by leaps and bounds. He surprises us everyday with some new antic! We have projects that we want to share so keep you eye out for some new posts on the horizon. Until then, enjoy this little video I made of Q from his first 3 months of life. When I was shooting the videos I didn’t have any intention of making anything with it so I shot them pretty small just to save space on my memory card (this is all shot with my little digital camera). So the quality isn’t great, but I had fun editing it. Some of you may have already seen it on my Facebook and Flickr page. The song is “Radar Detector” by Darwin Deez.

Q: 0-3 Months from Crystal Madrilejos on Vimeo.

– c.

Uncategorized

Q

He’s here (if you hadn’t figured that from our lack of posts)!

Quil was born happy and healthy on February 23rd and he has been keeping us busy! We will probably be taking a break from posting for a little while, but we’ll be back with lots to share. Three cheers for our little boy!

– a + c

Less than a week until the baby’s due date! Whether baby will be here on said date is the question on everyone’s minds. I think this waiting has to be the worst part of the pregnancy thus far. It’s maddening!

In the meantime, we’ve been trying to keep busy. I’ve had a few projects going because I get more and more restless as the days go by and I can’t seem to focus my energy on just one thing.

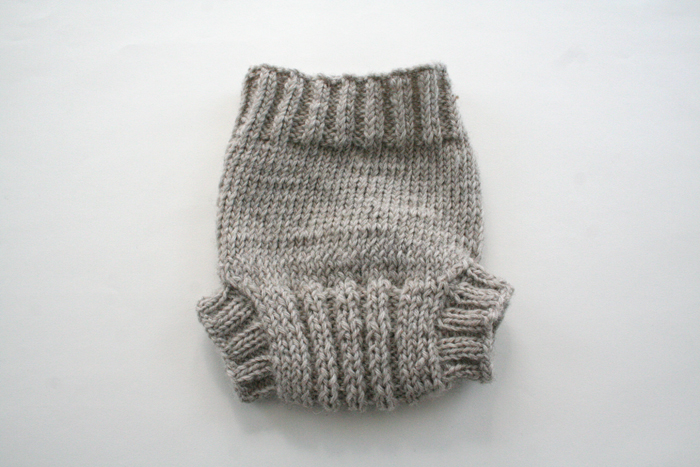
I just finished this knitting project a couple days ago, the Vanilla diaper cover, designed by knitter Kelly Brooker. I found the pattern on Ravelry (and if you are a knitter or crocheter and don’t have an account, I highly recommend signing up on this site). You can find a link to the Vanilla pattern, as well as others she has made, on the designer’s website, knit.so.quaint.

I love this pattern. Since I’m relatively new at knitting, I found that Kelly does an amazing job of breaking down the process step-by-step. Not once did I feel overwhelmed or discouraged by my lack of knitting knowledge and I actually ended up learning a ton. She also has instructions for multiple sizes and the pattern costs only about $6.00 for a pdf download. I used Lion’s Brand Yarn: Fisherman’s Wool in the color Oatmeal. I’m thinking of starting another one, you know, while we’re waiting!

–c.

Uncategorized

Soft Pretzels

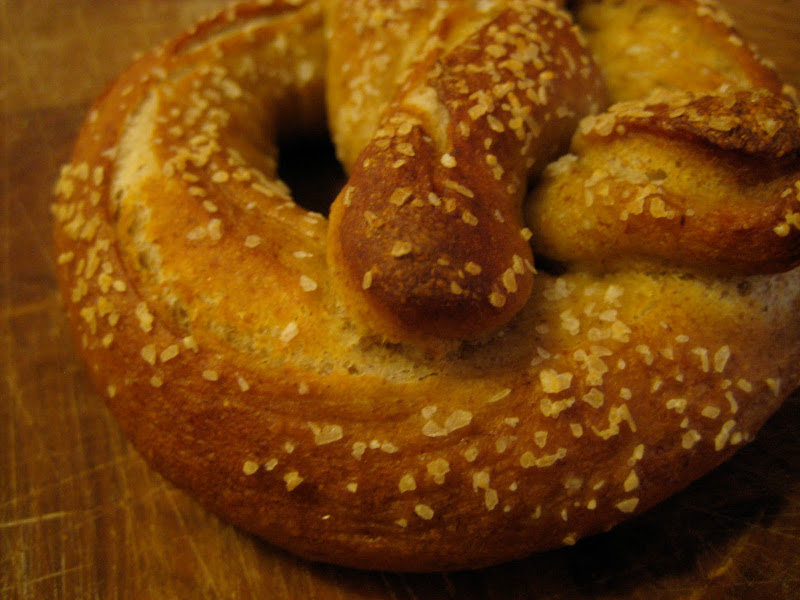
Every week the New York Times Magazine has a little food section with a recipe included. Half of them I have no desire to make and the other half I think to myself, “Hmmm, I should try that.” But, alas, I never do. This week was the exception, however. I made the featured soft pretzel recipe.

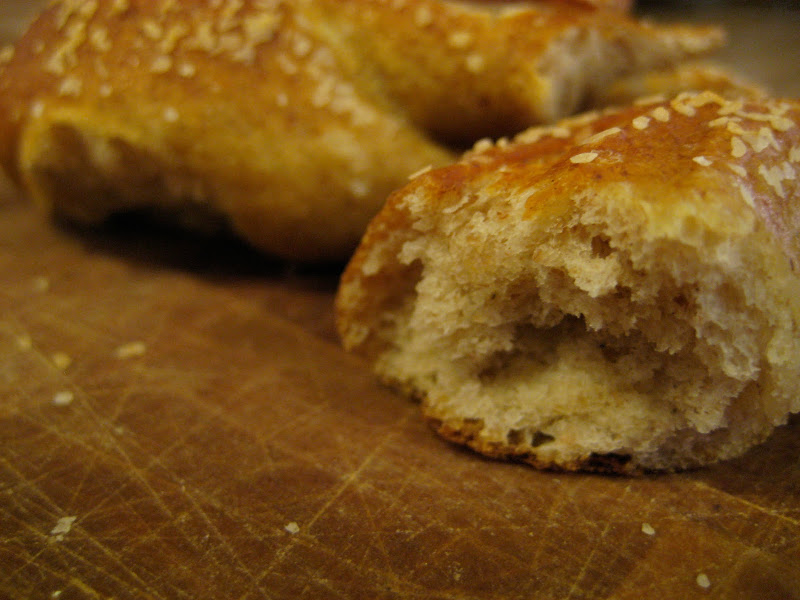
I had never made soft pretzels before and I’m counting my first attempt as a success. As a rule, the first time I make something from a recipe I follow it to the letter, then adjust if necessary. I think my only word of warning with these would be: Beware of salt. Next time I’ll probably top them with sesame or poppy seeds, there’s just no need for that much salt. Crystal’s the one who’s pregnant but I feel like I have the swollen ankles. Too much sodium intake. Ok, maybe it wasn’t that bad.

Soft pretzels require a quick boil before you bake them, much like bagels. And a few years back I tried endlessly to make a good bagel but never really got there. This was a good experience so maybe it’s time to give the old bagels a go again.

-a.

Uncategorized

Buccaneer Booties

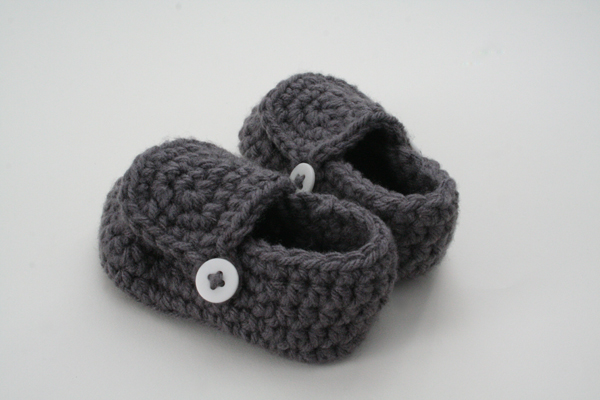
While cruising around Etsy a little while back I found a pattern for sale of these cute little booties! They are called Buccaneer Booties and were designed by Etsy seller Mamachee. The pattern comes in four different sizes from newborn to 18 months. I made these in the newborn size, but I don’t think they will fit the baby right away since I used some fat yarn and they came out bigger than the pattern intended. I’m going to try to make another pair with a lighter yarn and see how they turn out size-wise.

–c.

Uncategorized

Knitting

A few weeks ago I was home sick from work and decided that it was about time that I learned to knit. I’ve said that too many times to count, and have even had people offer to teach me but finally I just hunkered down and did it.

I’ve tried to learn on my own in the past but let my frustrations get the better of me. Being a crocheter, I couldn’t figure out how to get the stitches to stay on the needles and using two needles just seemed so cumbersome. But I finally got the hang of it this time. I started with instructions that I had photocopied years ago out of an old Martha Stewart Living Magazine, which you can see an abbreviated version of here online. But that only got me so far before I realized that video tutorials help immensely!!! Knittinghelp.com is where I got most of my basic info and I joined Ravelry a knit and crochet community to find patterns and such.

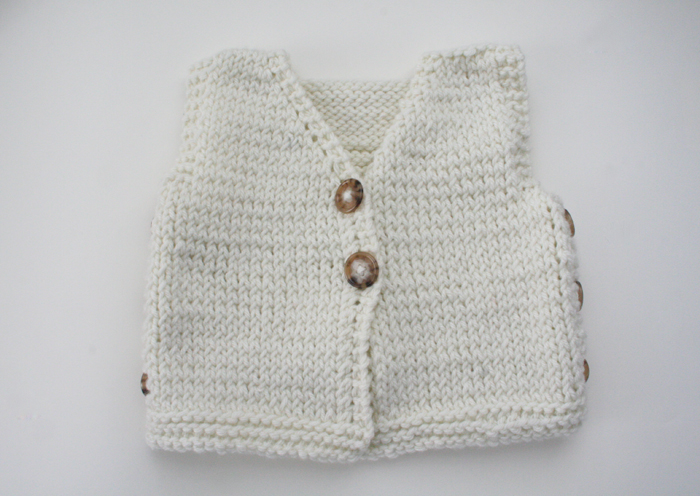
My first project was a baby vest that I found on Ravelry (my finished vest is pictured above). Here is a link to the designers blog, Bibliosophy, and the original blog post where you can download the pattern. Being that this was my first attempt at knitting, it’s a little bit wonky and I won’t even show you the mess I made of the back!

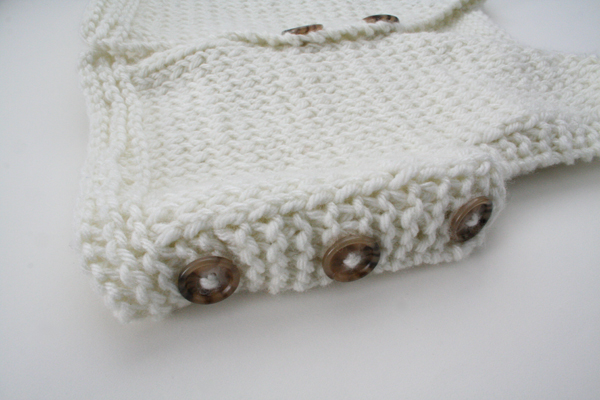
Here is a detail shot of the buttons going down the side.

I’m in the process of making another one in black and I have to say it’s going a lot smoother this time around.

–c.

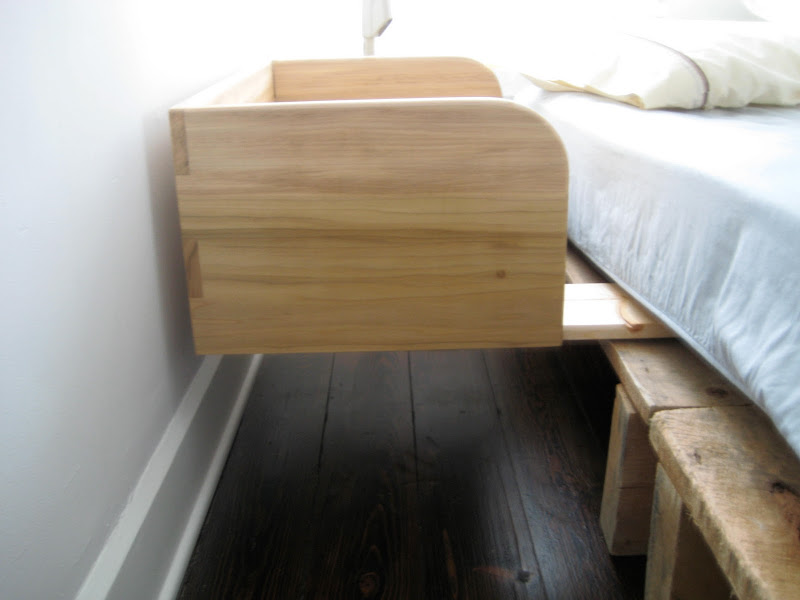
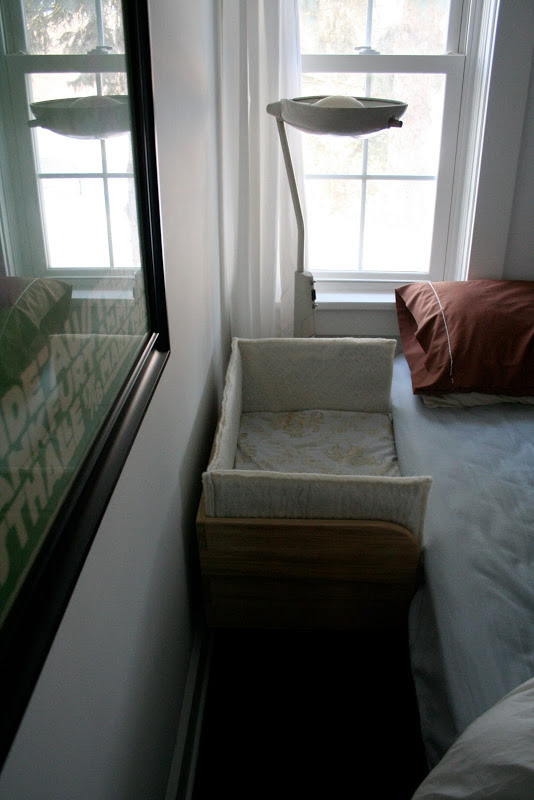
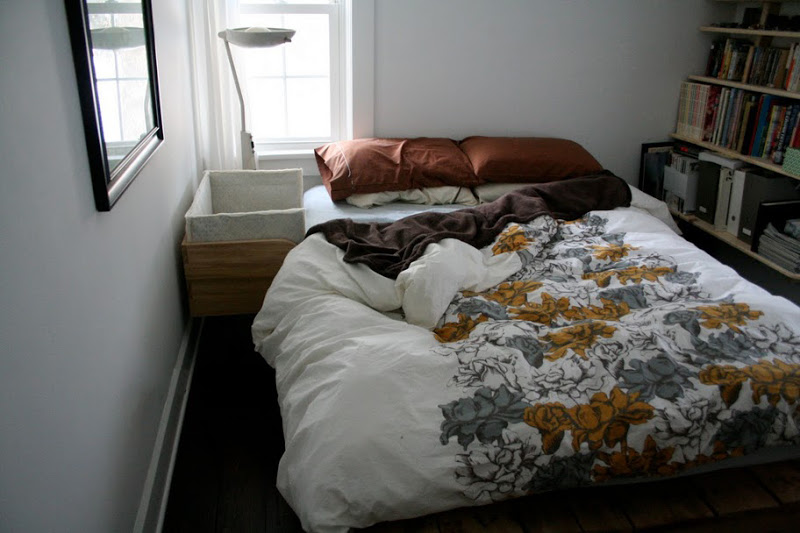
As Crystal mentioned in the previous post, the basic idea was adapted from the “Culla Belly” design. The main difference is the overall height of the co-sleeper. If you notice in the picture of the “Culla Belly” co-sleeper, the mattress it’s designed for is exceptionally thin. Ours is a “normal” mattress and is much thicker so the sides of the co-sleeper had to be a lot taller.

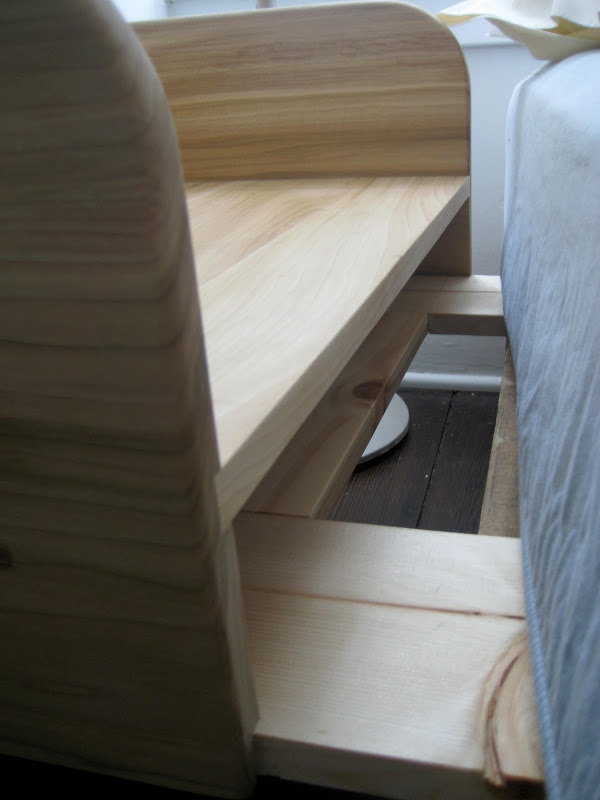
In essence, it’s a three-sided box with a “shelf” halfway up where the baby lies. The whole thing is attached to a frame underneath that extends far under the mattress keeping it in place. It’s quite secure but just for added strength we bolted it to the pallets that our bed sits on.

I did a lot of research on the toxicity of different types of wood and decided to use Poplar. Pretty much all of the basic wood types you would find at a lumber yard are perfectly safe, with the most common irritant being the dust produced from cutting and sanding. I’m also using Poplar for the crib, which is currently under construction. It’s a nice, easy to find, and not too expensive hardwood.

A lot of cribs these days are made out of different types of plywood and even MDF, which contain all sorts of industrial glues and even formaldehyde, so I knew I wanted to avoid those at all cost.

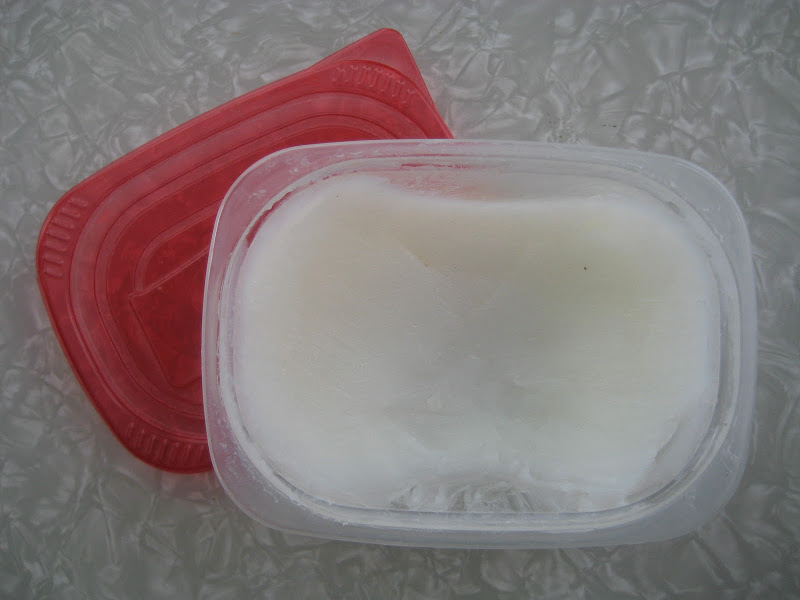
The next consideration was how to finish the co-sleeper. I decided to make my own finish instead of worrying about paints and stains and any kind of hard finish. To make the finish I heated up mineral oil – which is used on cutting boards and wooden utensils and is essentially unscented baby oil – and added some fragrance-free beeswax until it melted. (I bought the beeswax at A.I. Root here in town. Did you know that Medina, OH is The Bee Capital of the World? Well, you do now.) Then you let it cool and you rub on the paste that results (below). It’s completely food-safe and non-toxic.

My only worry in all of this is that Crystal’s not going to want to give up her new bedside space. (She’s currently using the co-sleeper as a side table and keeps her contacts, alarm clock, books, glasses, yarn, water bottle, tissues, hair ties, crocheting/knitting needles, and whatever else she manages to take to bed with her.)

-a.

Uncategorized

Co-Sleeper

A lot of the projects that we post on here are either made by myself or by Andrew but this project was a cooperative effort between the two of us: a co-sleeper for the baby.

We decided to go the co-sleeper route for the first few months while I’m on maternity leave. If you’re unfamiliar with what a co-sleeper is, you can learn more here. It is basically a 3-sided bassinet that attaches to the side of the bed. They come in all different types and sizes. Since I will be nursing, we figured it would be easier to have the baby there next to me rather than me getting out of bed every two hours to go into the other room. BUT at the same time, not have the baby IN the bed with us.

Most co-sleepers on the market are big bulky things that involve many parts and can convert into other things like a free standing crib or a playpen. We wanted something really simple made from basic materials. With inspiration from this “Culla Belly” prototype we saw on swissmiss we made our own version.

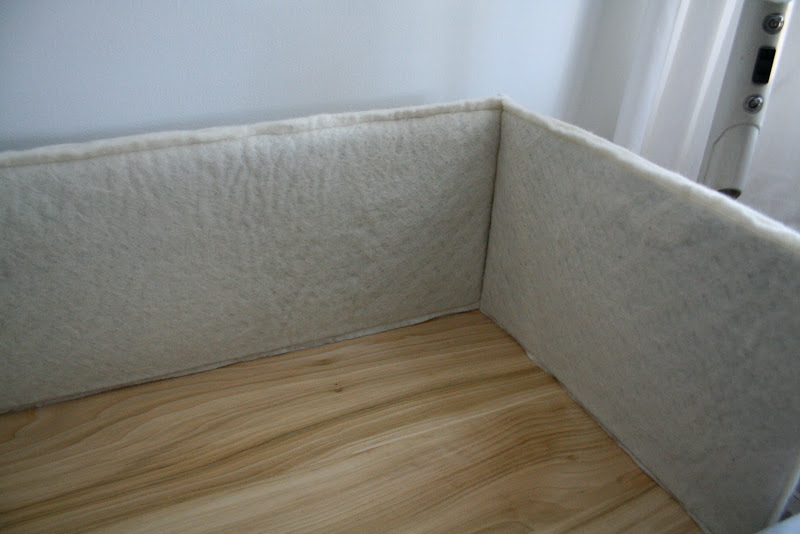
I’ll let Andrew embellish more on the actual construction since he was responsible for that part. The parts I was responsible for were the wool felted sides, the mattress, and the mattress cover. Remember way back when I posted about making big pieces of felted alpaca wool? Well, this is what those were for. We knew we wanted felt sides but didn’t want to throw down the cash for industrial wool that would hold its shape on its own. So we improvised.

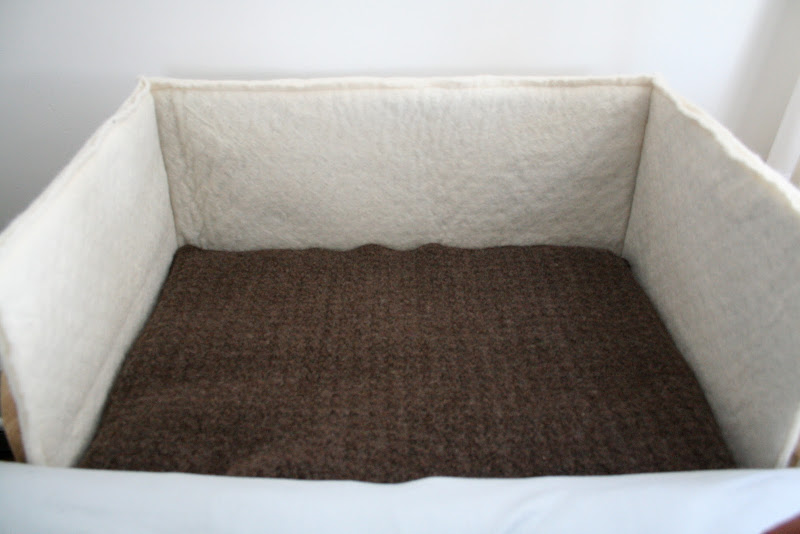
Here are the sides: They are made from are felt sewn around pieces of heavy cardboard and then sewn together.

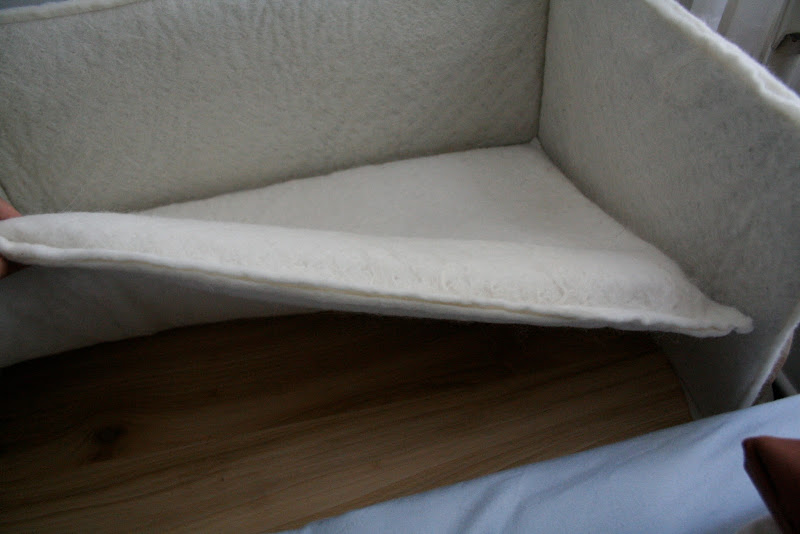
The mattress: I sewed together remnants from the sides and layered them between two pieces of the alpaca felt.

The mattress cover: I crocheted a wool mattress cover just in case the baby springs a leak. I doubled the yarn while crocheting to make sure it was nice and dense (I used Lion’s Brand Fisherman’s Wool in Nature’s Brown) then felted it in the washing machine. If baby has an accident I can just throw the cover in the wash and not worry about washing the whole mattress.

Currently, I’m working on making little sheets but right now we just used a pillow case that fits surprisingly well. Check back soon for a post from Andrew on the construction.

–c.